


Contact Me
Learn How To Take Awesome iPhone Photos Of Your Kids (Try These Out In Lockdown!)
So today I’m sharing my Top 5 Tips for taking awesome iPhone photos of Your Kids – pairing very nicely with my FREE Guide To Taking Photos Of Your Kids During Lockdown – download it if you haven’t already!
If you’re anything like me you take most (if not all!) of your photos of your kids with your phone – and why not?! It’s convenient, always to hand, and if you know how to use it properly you can get some brilliant results.
(An apology here to non-iPhone users – I use an iPhone myself and have done for years, so it’s best I direct you elsewhere for tips on how to use your phone camera: How To Take Better Photos With Your Samsung Camera
Huawei P30 Pro camera tips and tricks: great ways to improve your images
How to take great photos with your Google Pixel )
Back to the iPhone – here are my Top 5 Tips for Taking Awesome iPhone Photos Of Your Kids! Do let me know how you get on – tag your photos on social media @schryverphoto and I’ll be sure to check them out.
5 Top Tips For Awesome iPhone Photos Of Your Kids
1). Tap To Focus
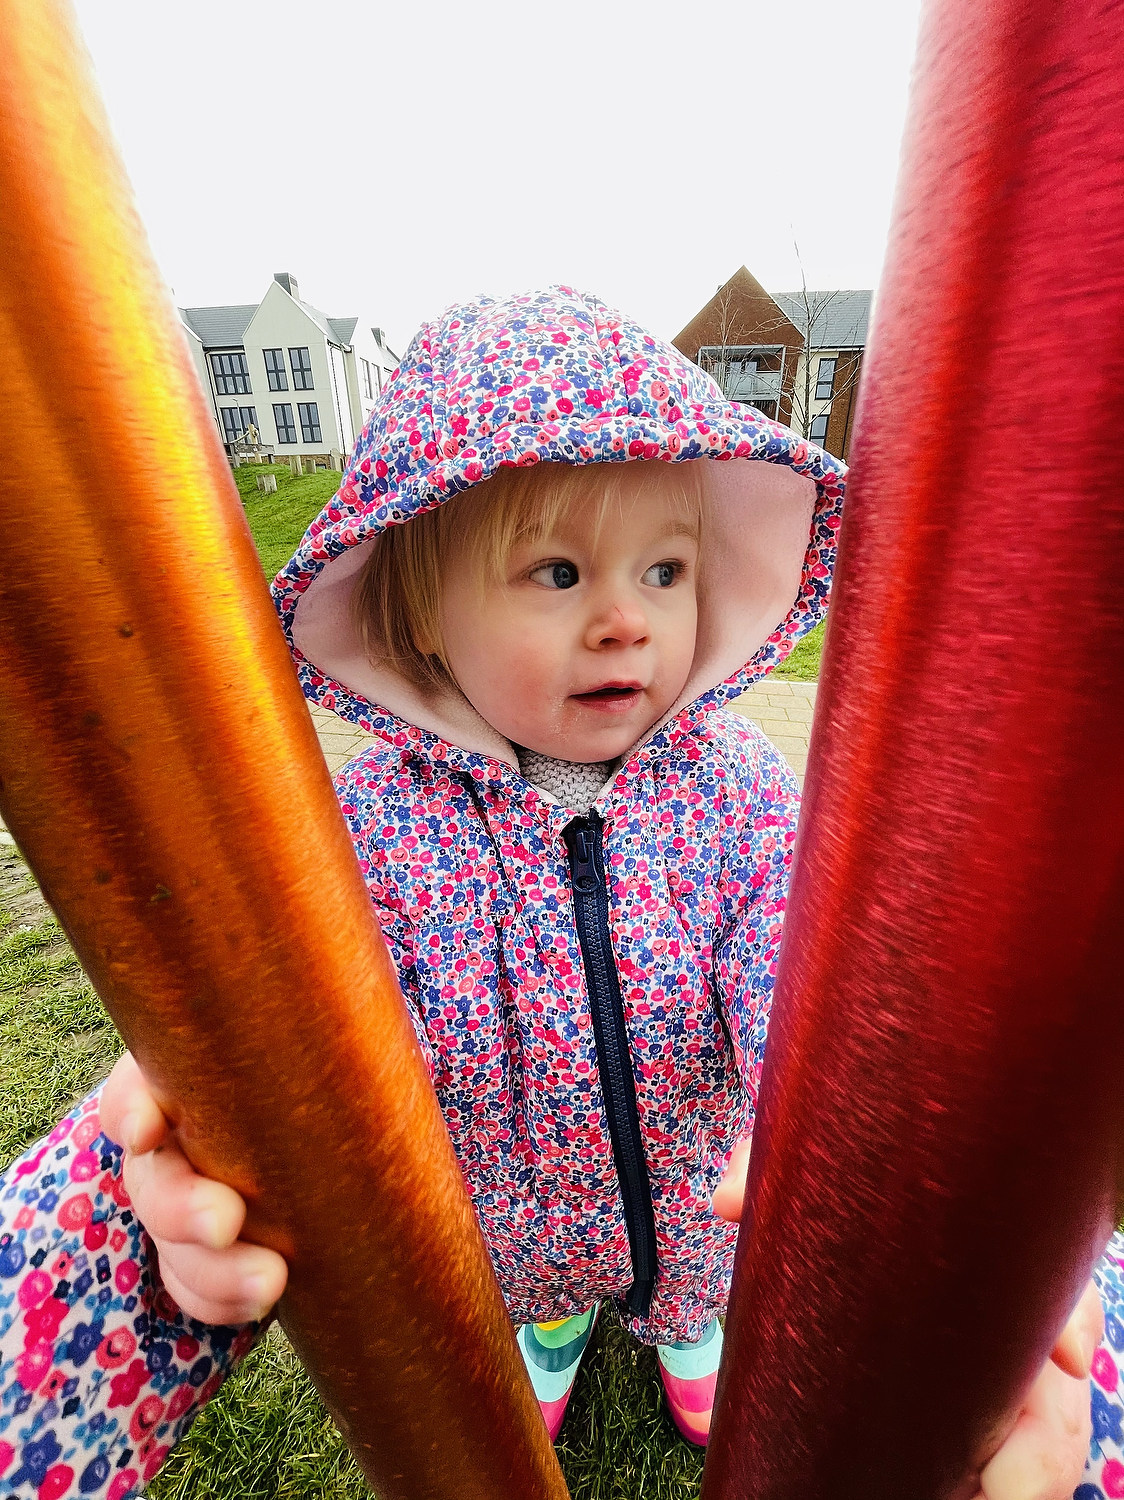
Open up the camera, then when you’re ready to take a photo just tap the screen where you’d like the camera to focus. Easy as that! Otherwise, you’re just letting the camera decide what to focus on (usually it’ll pick whatever is closest to the camera, and/or nearest the centre of the frame).
This one is great for taking awesome iPhone photos of your kids – you’ll usually want to focus on their eyes/face but if they’re holding something out to you (close to the camera – e.g. a leaf, flower, ice-cream, insect.!) the camera may choose to focus on that instead.
Of course you may choose to also – with control of the focus you are free to experiment!
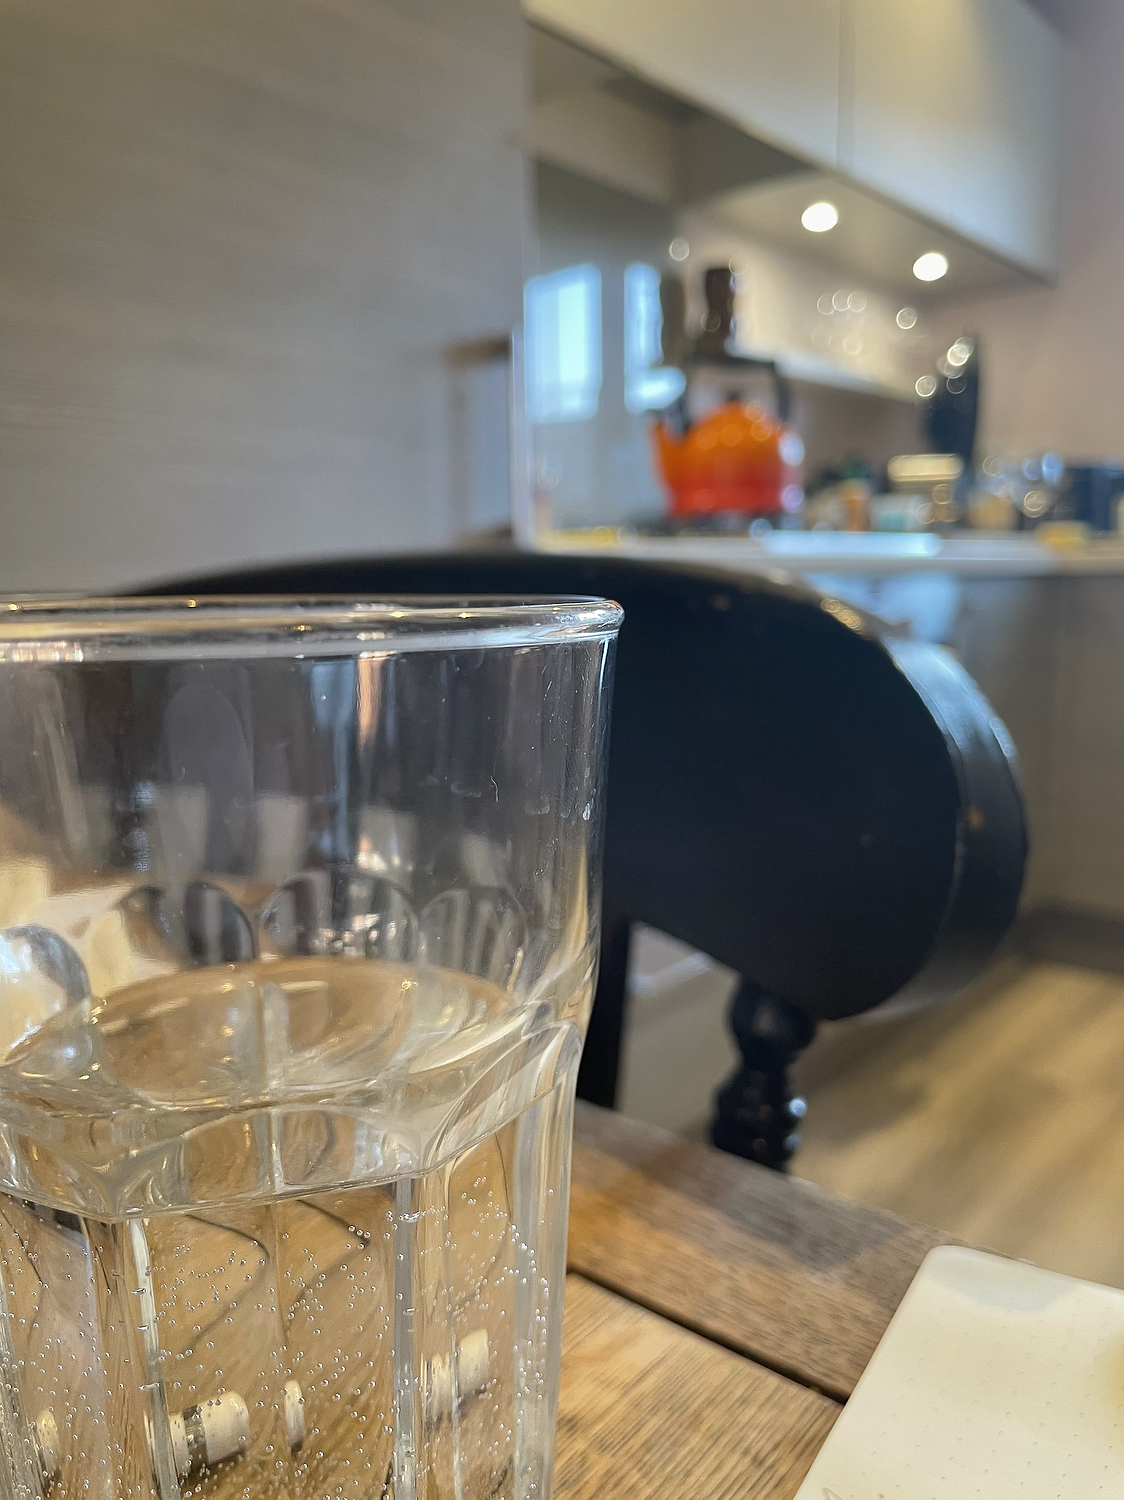
Quick demo:
![take awesome iphone photos focus demonstration with glass and chair]()
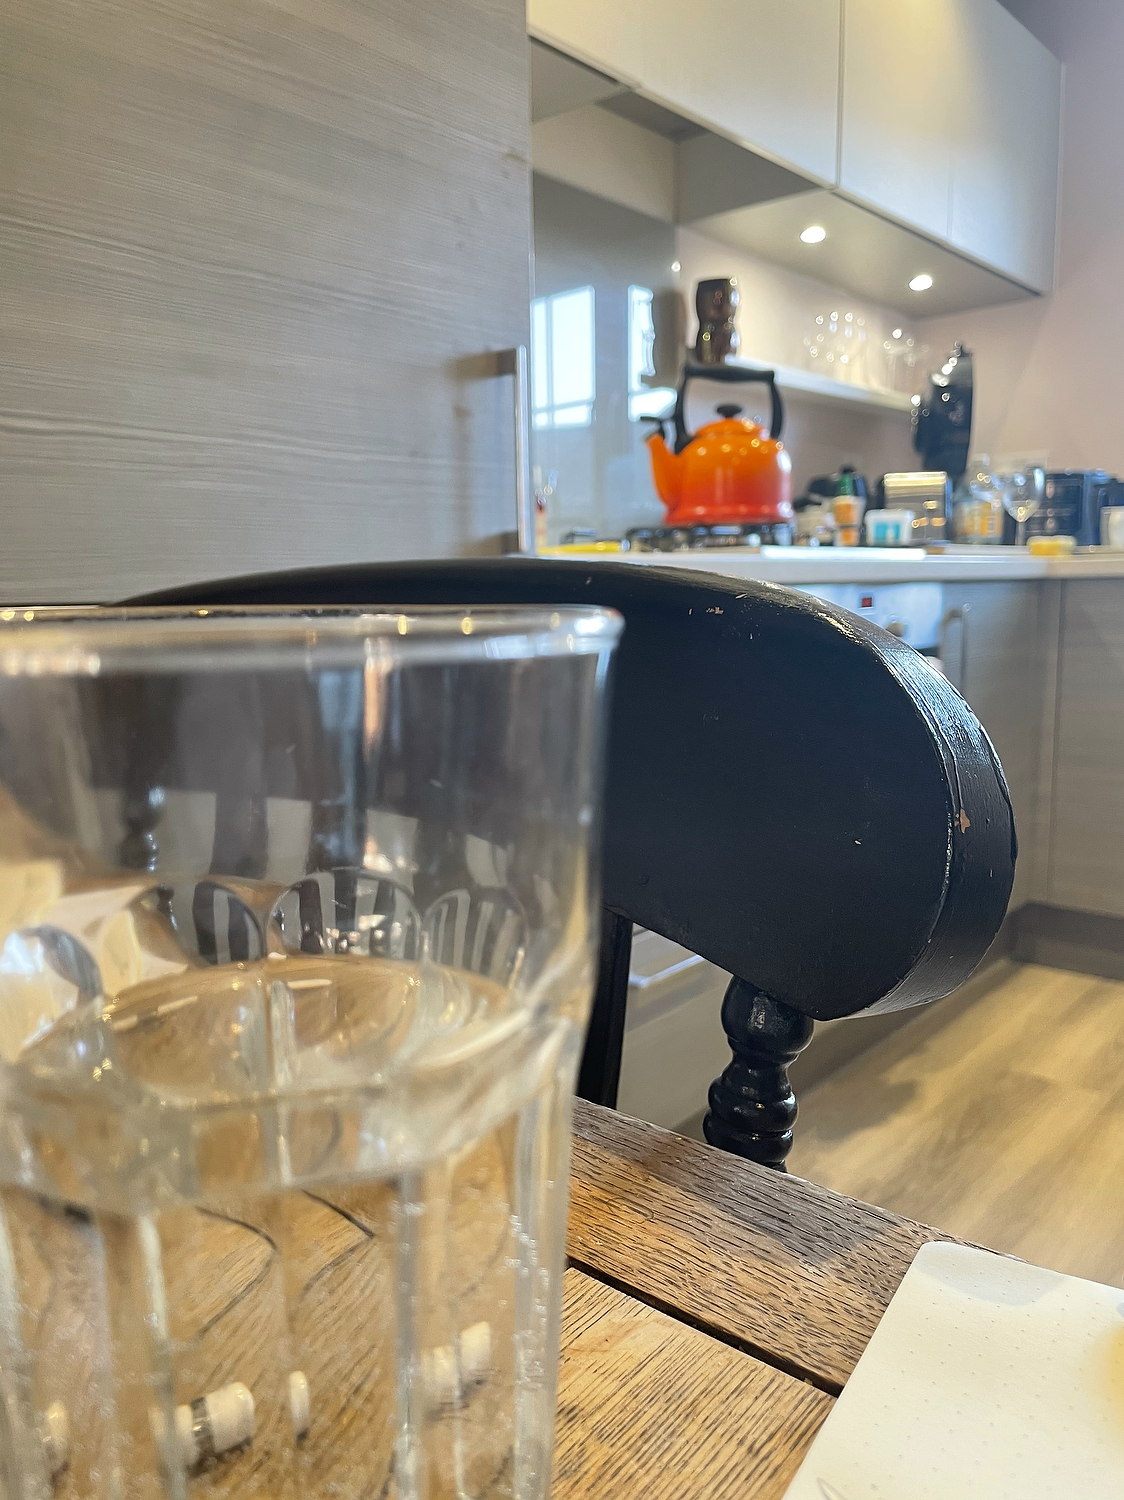
focus on glass ![take awesome iphone photos focus demonstration with glass and chair]()
focus on chair
2). Exposure Controls
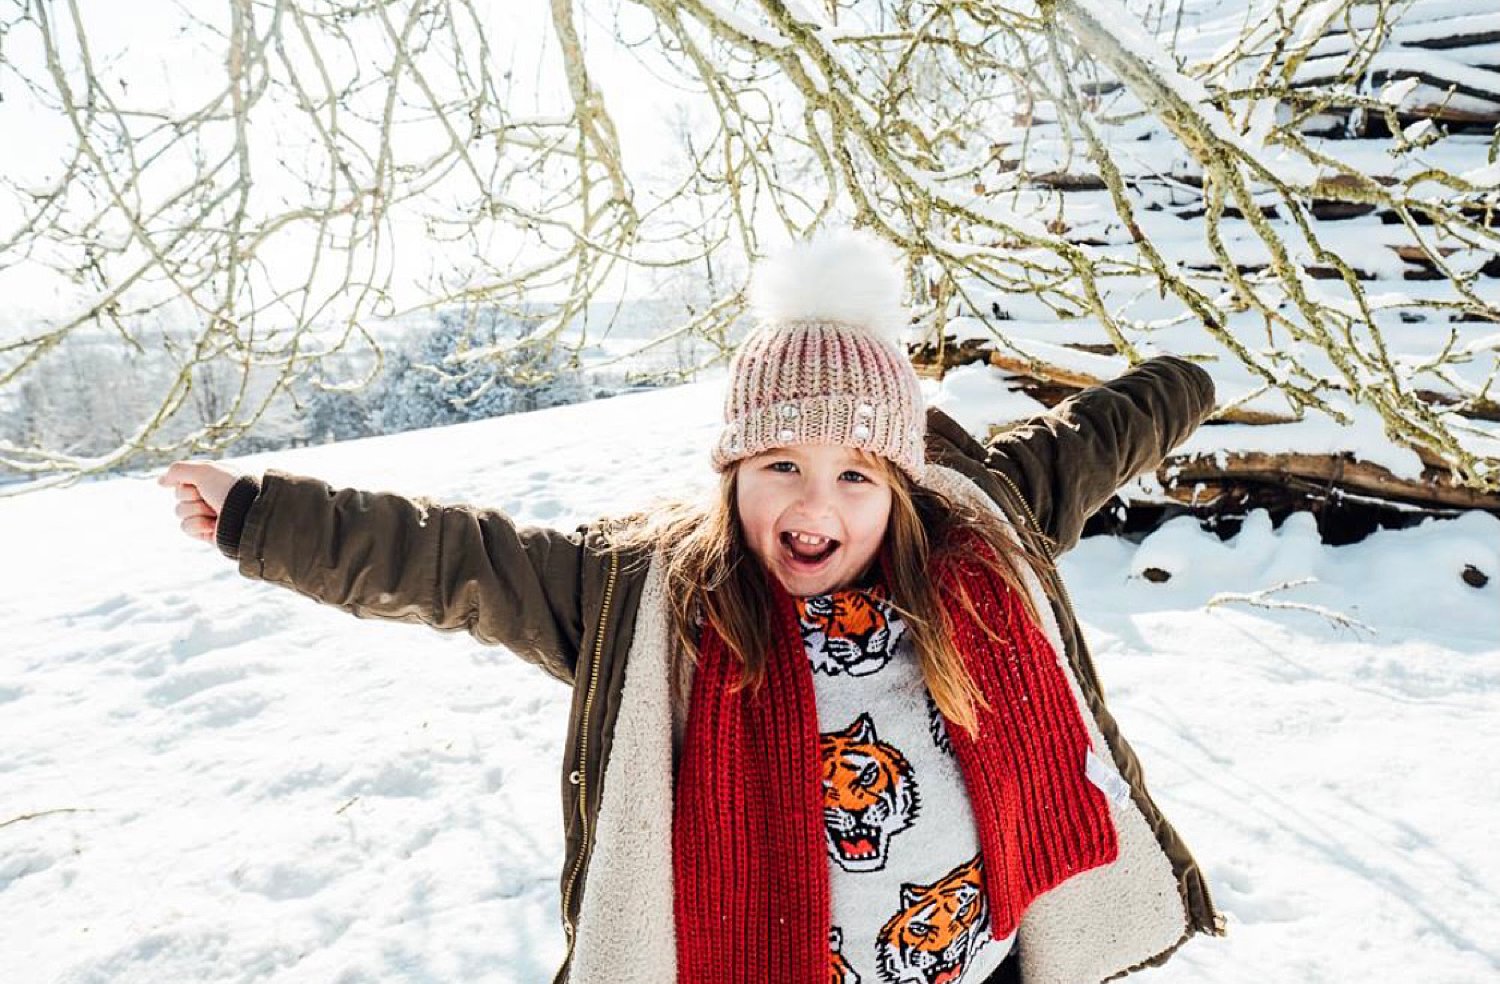
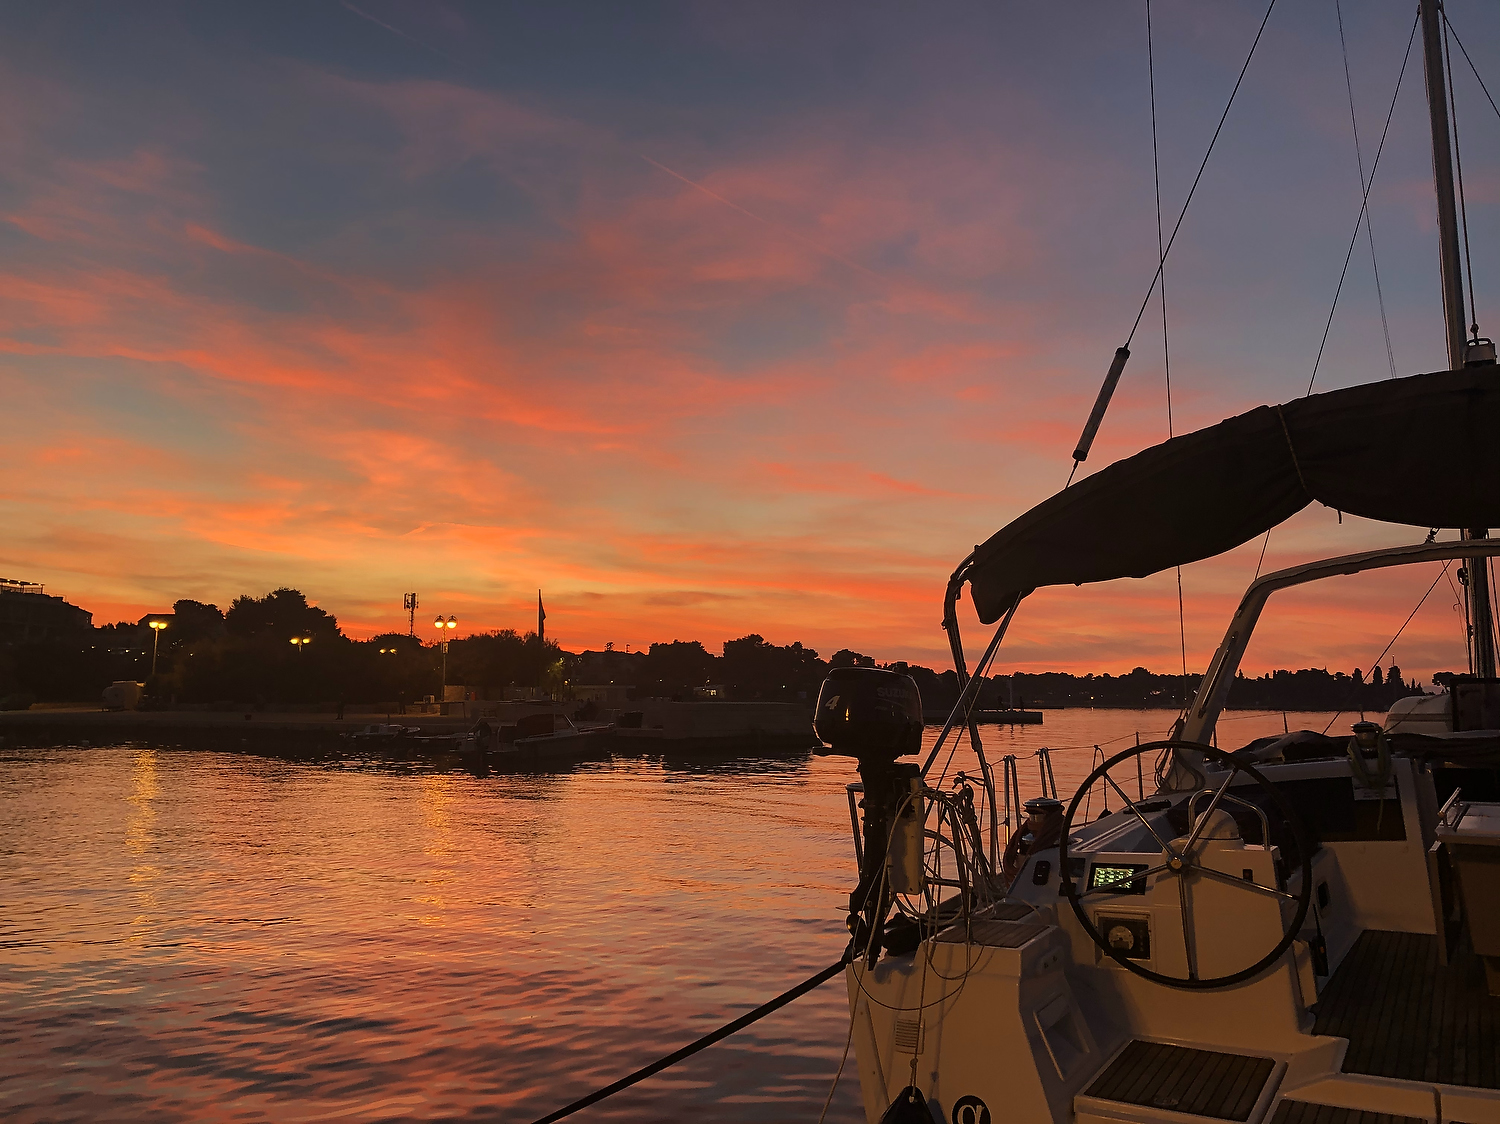
Exposure is our fancy photography term for how light or dark your photo is going to turn out. Just as with focus your iPhone will decide this for you, and usually does a pretty good job. There are times when you’ll definitely want to have control over this though – taking photos of your kids in the snow for example (your iphone will want to make them too dark), or of a sunset, or of your kids playing or looking out of the window in a mostly darkened room (your iPhone will want to make them too light)..
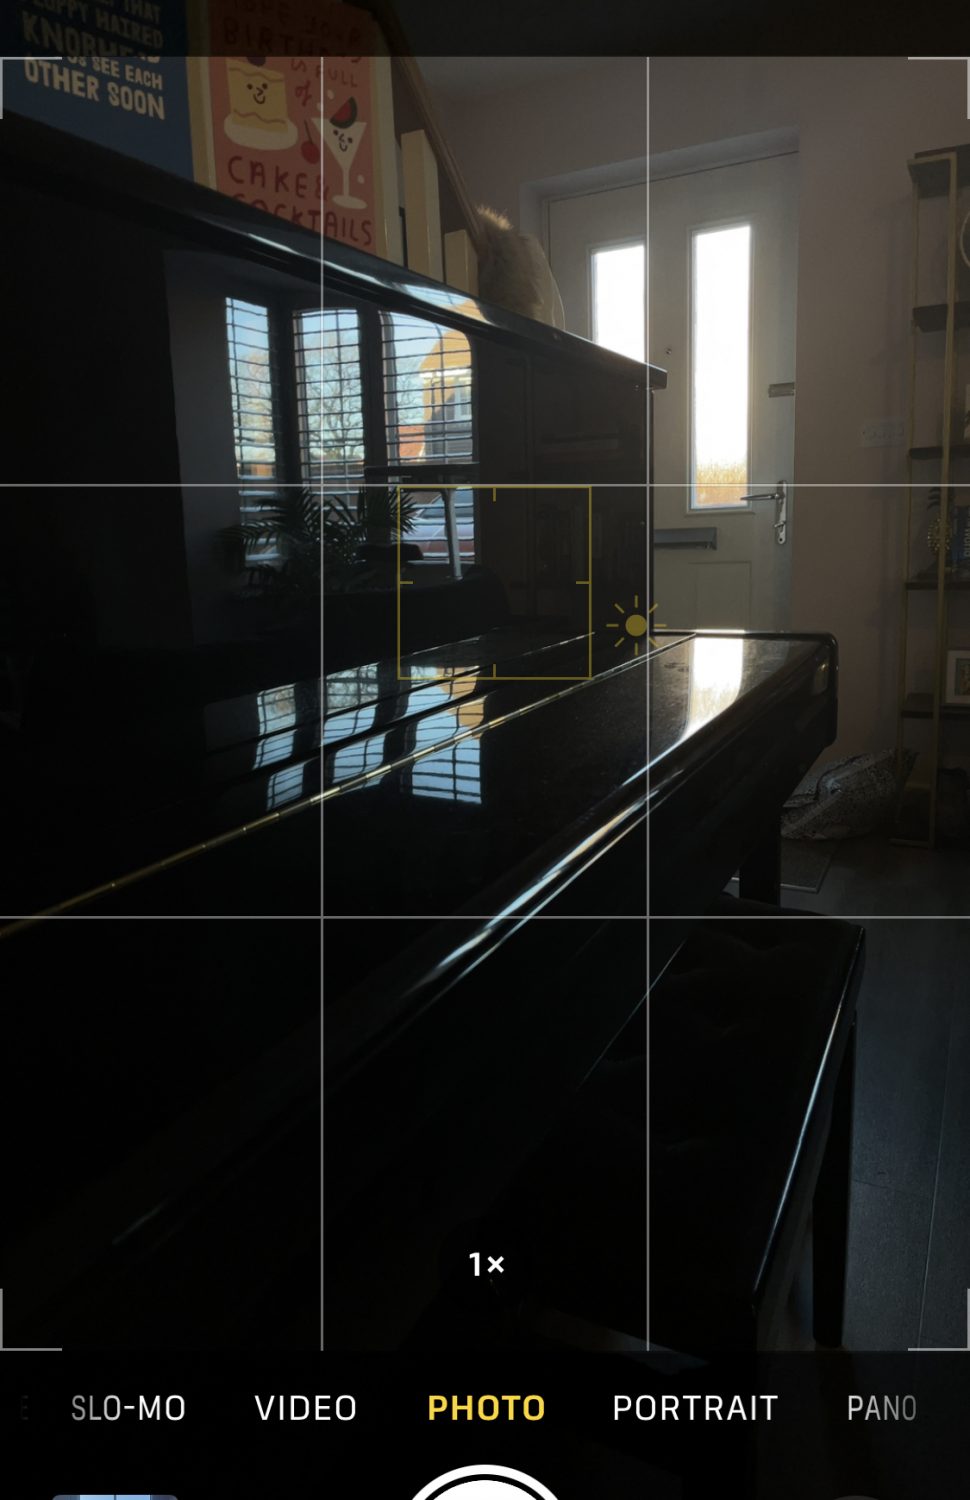
This one is just as easy as the focus tip – in fact the two work well together. I do the following for all the photos I take on my iPhone: Just tap to focus, hold your finger on the screen and slide up and down to change the exposure (you’ll see a little sun symbol pop up and a sliding scale). That’s it!
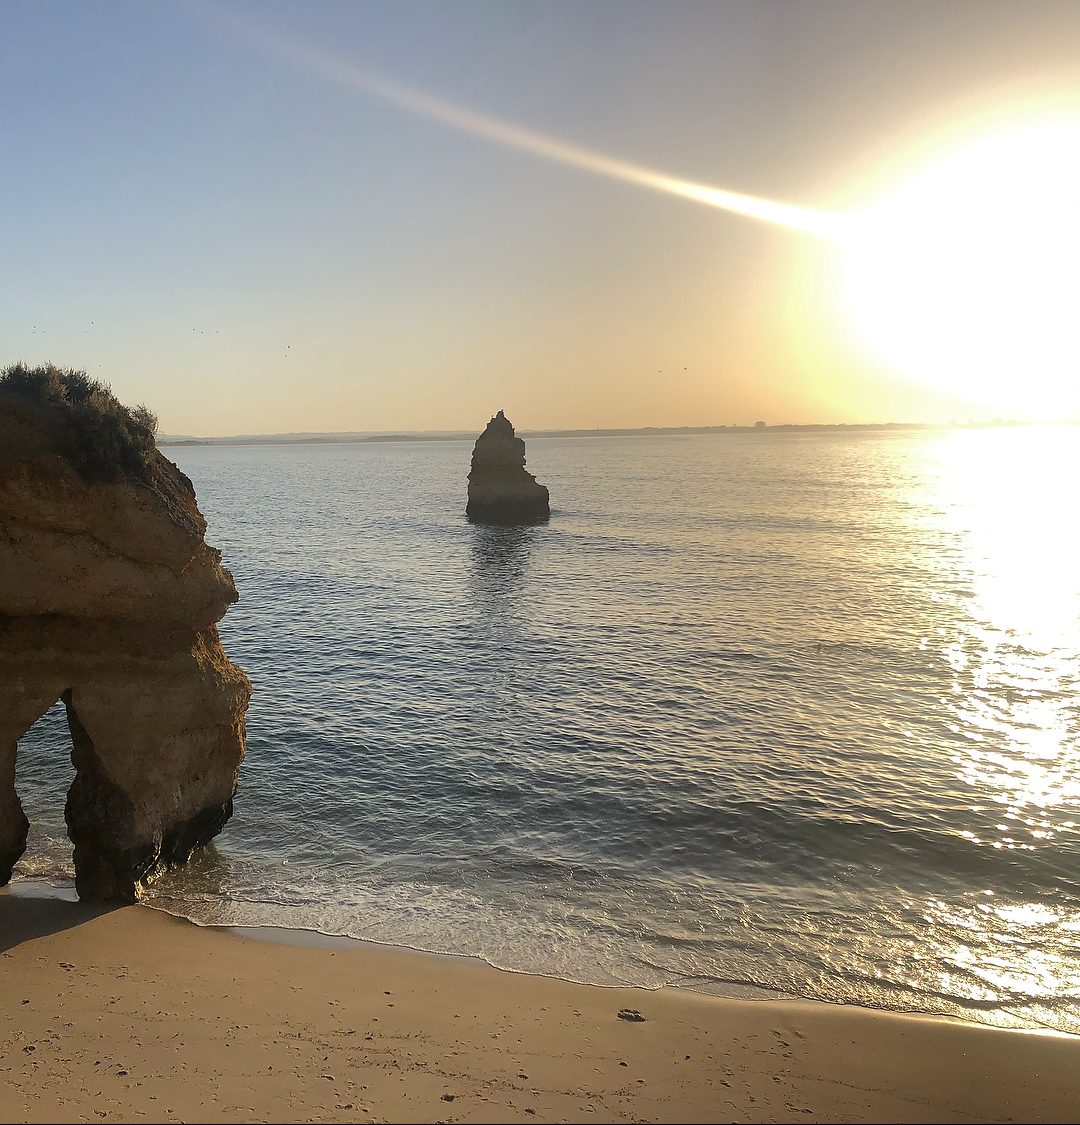
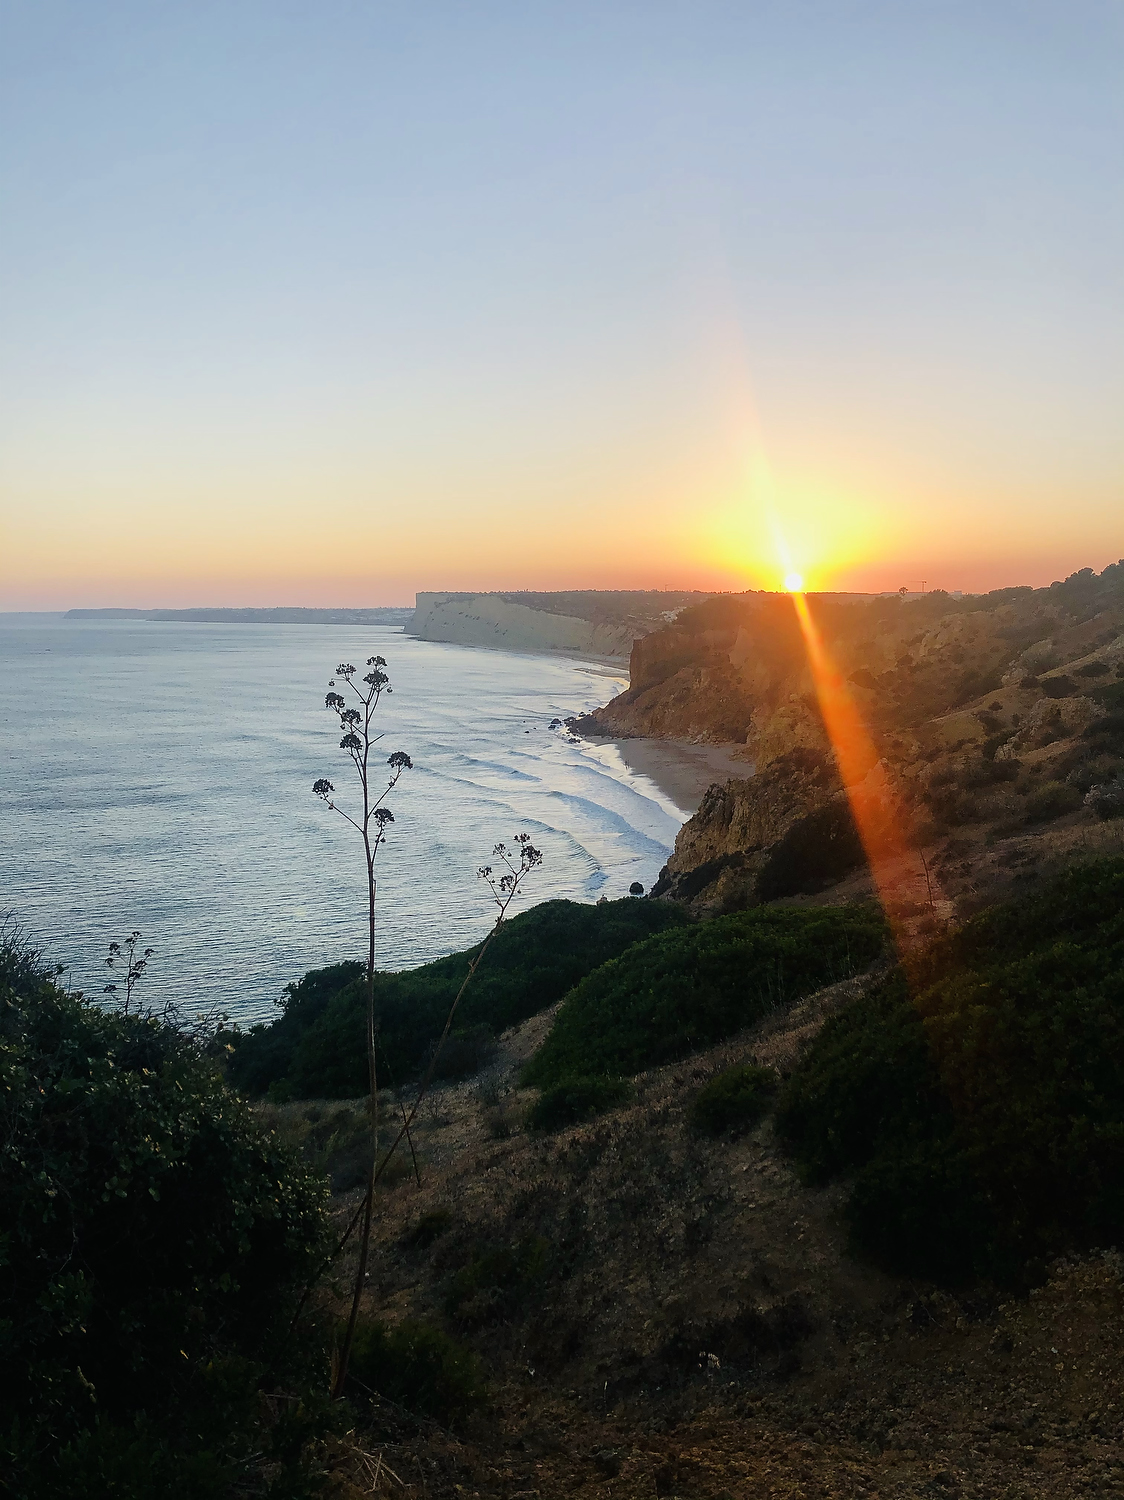
![]()
sunrise without exposure comp ![]()
with exposure comp (sliding downwards to darken)
3). The Grid
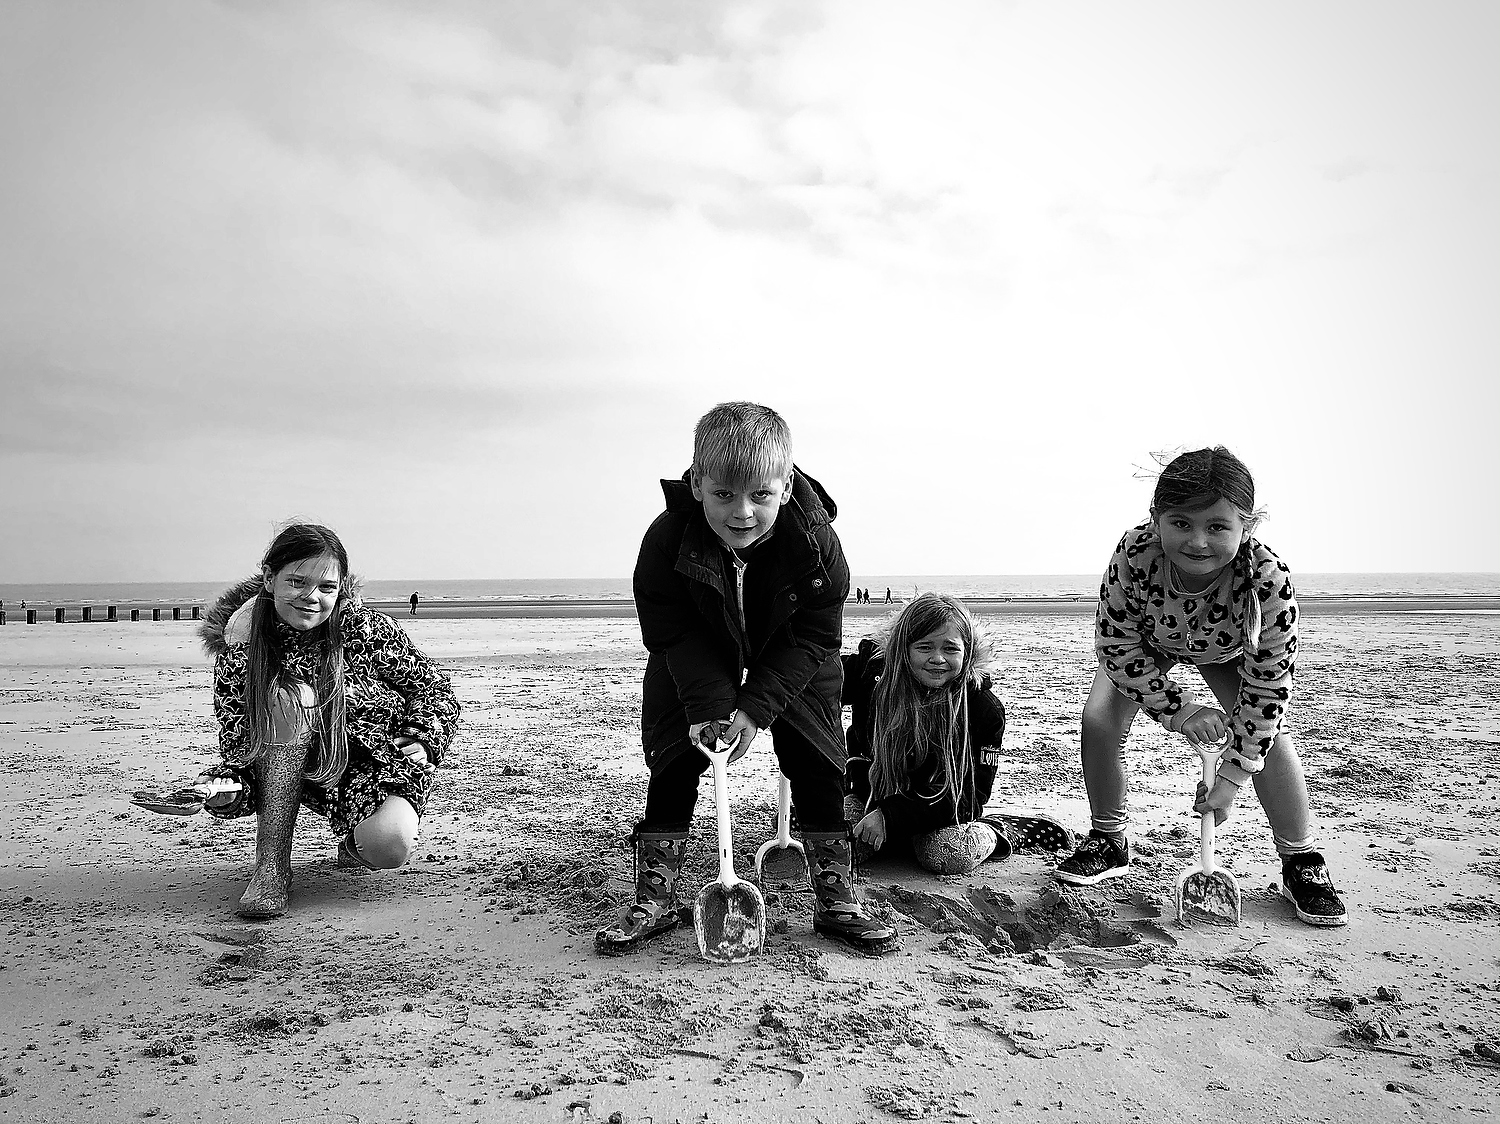
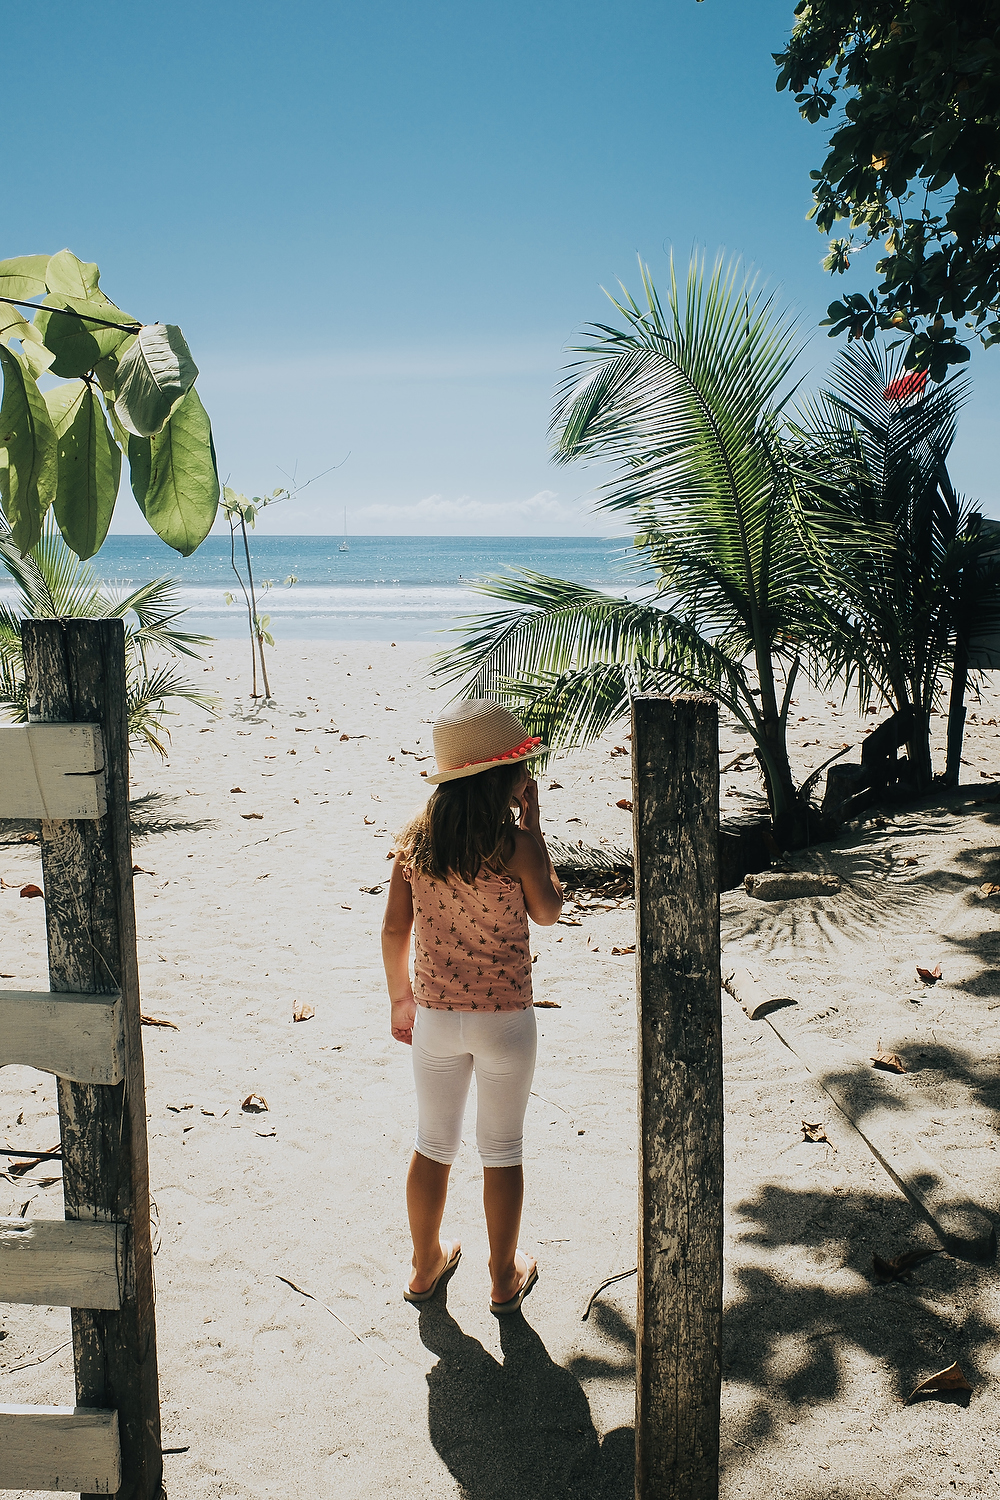
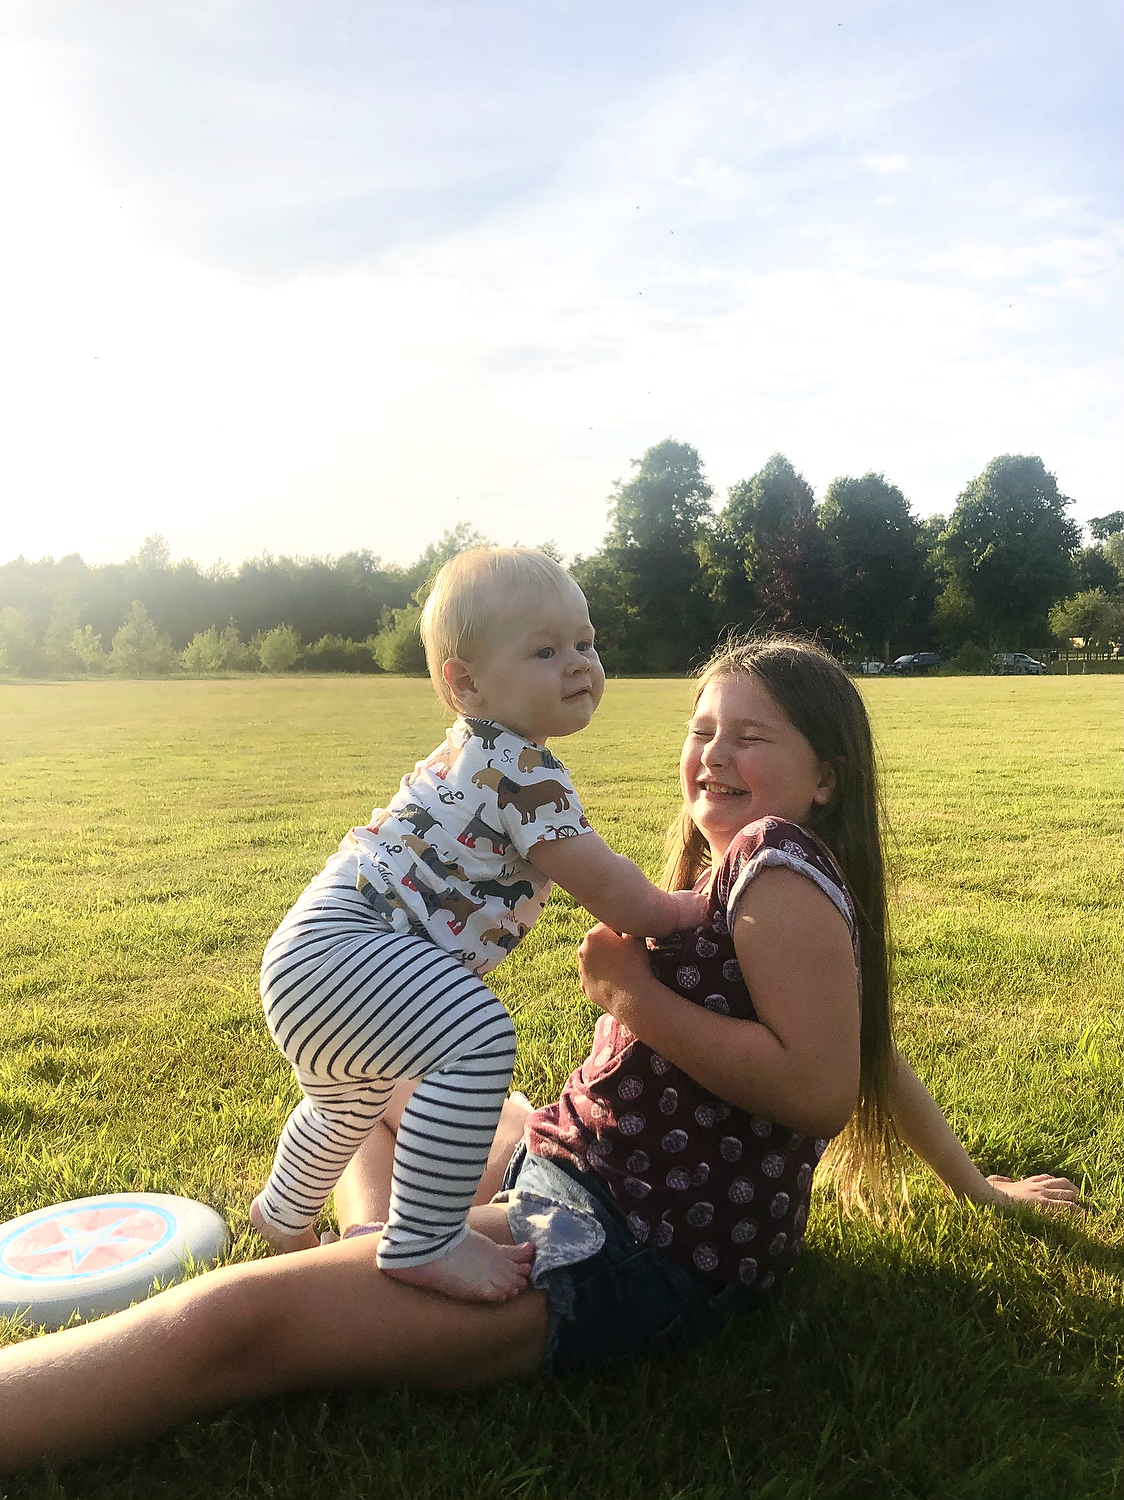
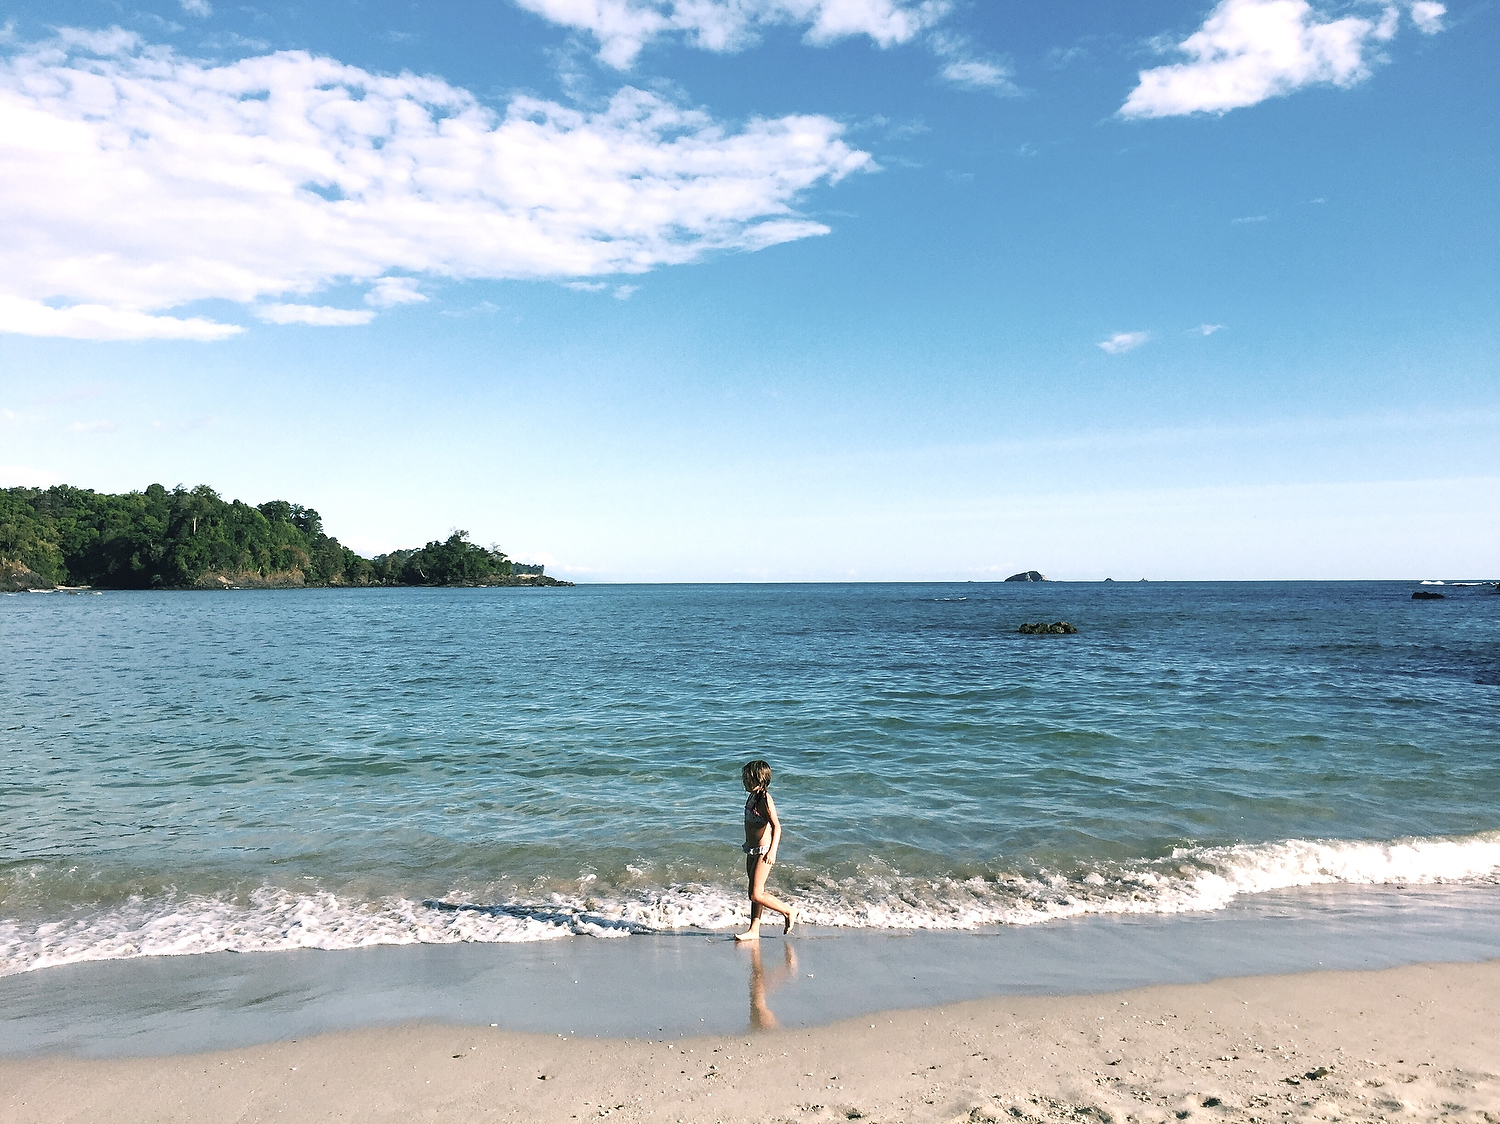
Your iPhone camera has a grid setting. Find it in Settings – Camera – Turn on Grid. This places a 3×3 grid onto your screen when you open up the camera. This is super handy for taking photos with horizons that you’ll want to be straight (e.g. your kids playing by the sea), or of buildings – just line them up with the grid and snap away.
Also useful if you want to place something in the middle of your photo, or to the side (use the 1/3 and 2/3 cross-sections for this – it makes for a very pleasing composition to the eye!).
4). Take Photos With A Filter
Save time (and get creative!) by applying your chosen filter ‘in camera’. This pops your chosen filter onto your camera screen so you can take the photo with the filter already on it, rather than adding it later.
On my iPhone 12 mini – open up the camera and click on the little arrow at the top of the screen, then scroll along the bottom to filters). Filter is then applied ‘in camera’ until you change/remove it.
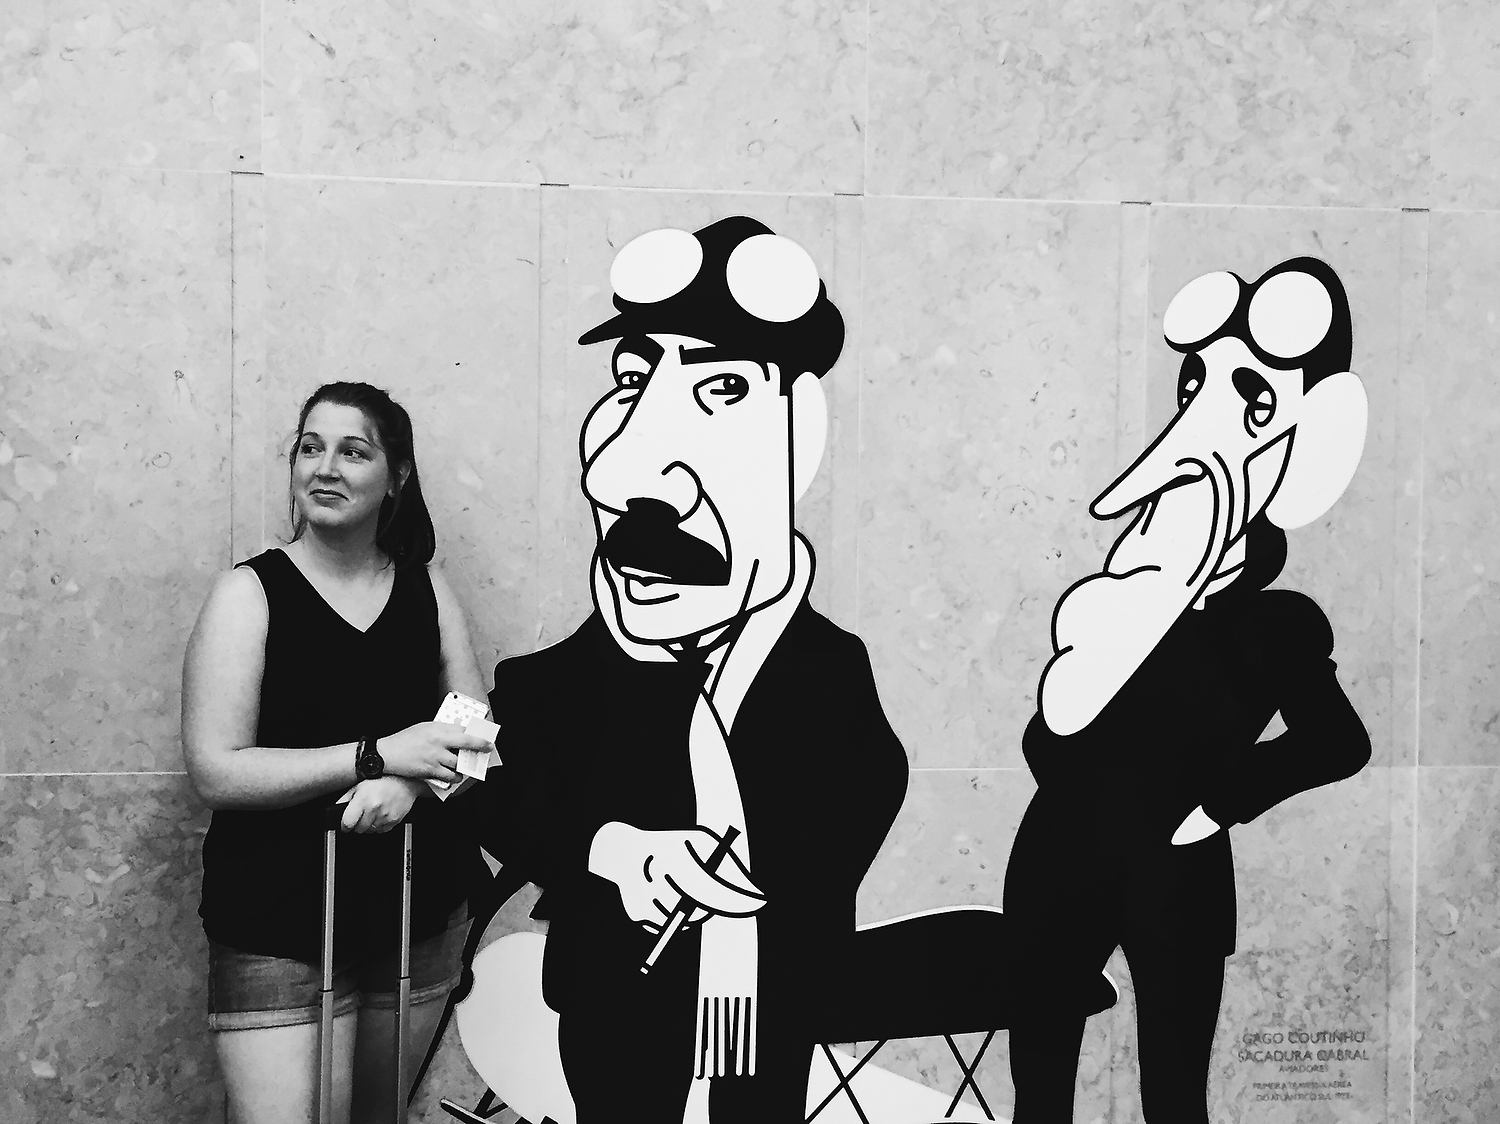
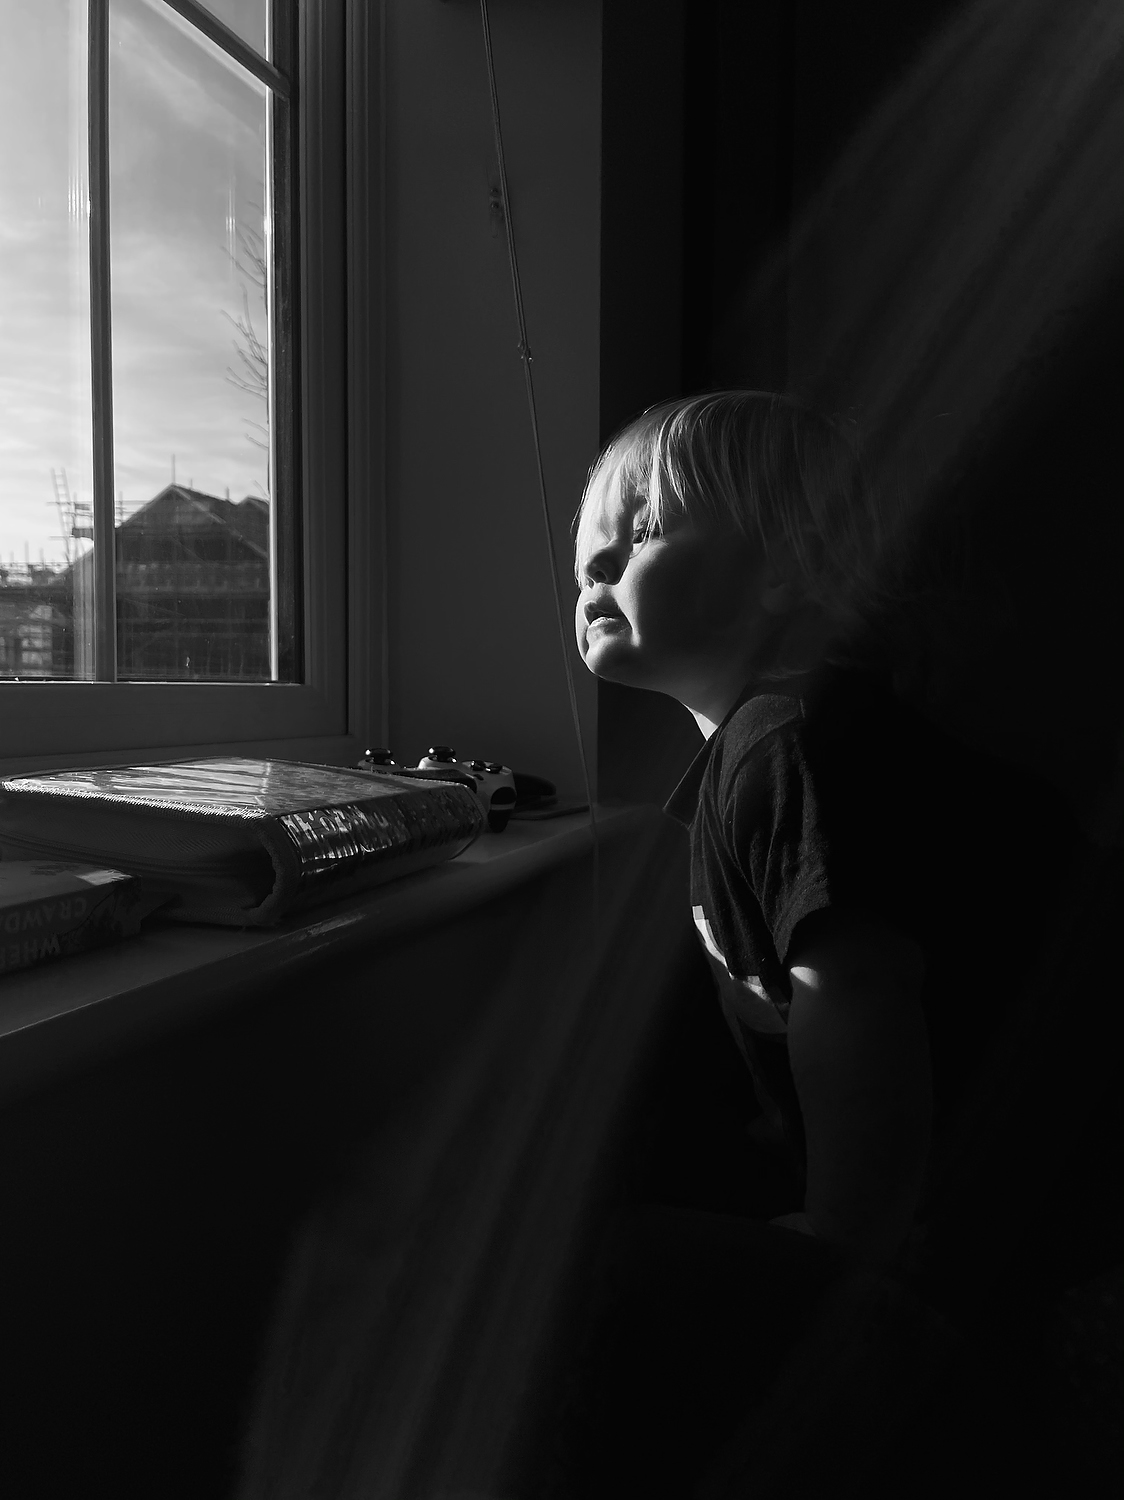
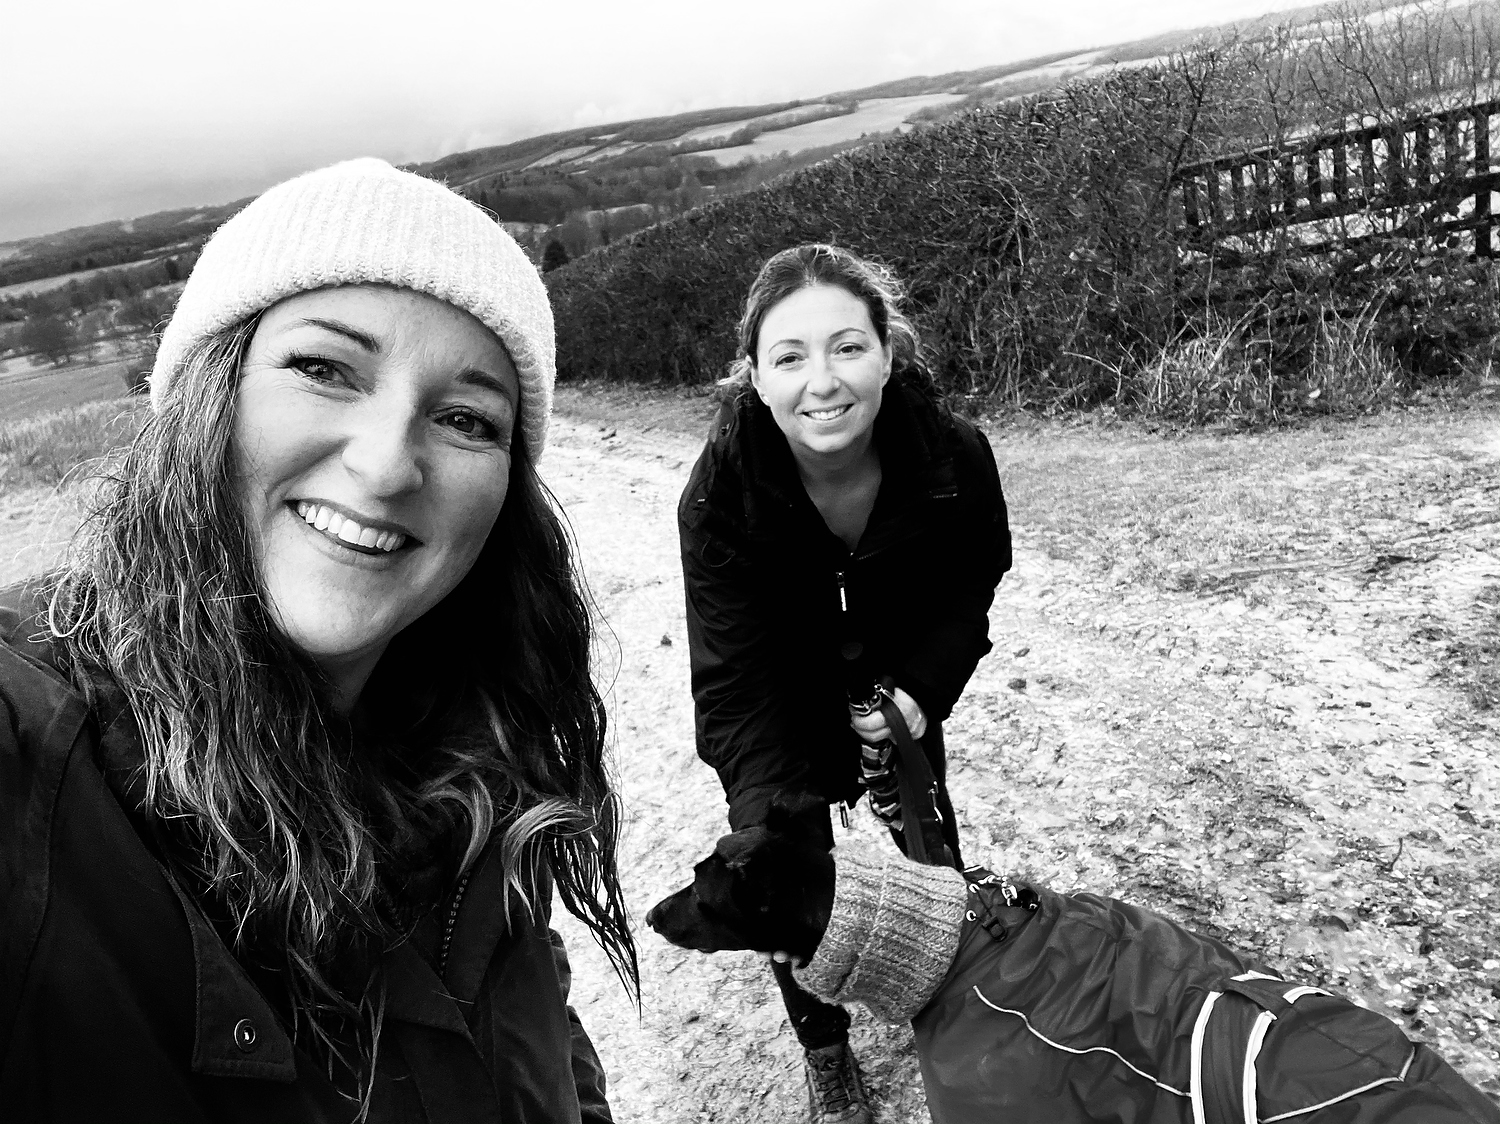
Try this with a black and white filter – you’ll find different things catch your eye to photograph when you take away the colour! Black and white photos of kids have a more timeless feel, too (and it’s great for minimising the look of household clutter in your pics!). If you decide your photo might have looked better in colour or with a different black and white filter, you can go in and edit your photo afterwards in the usual way.
5). Use The Wide-Angle Lens

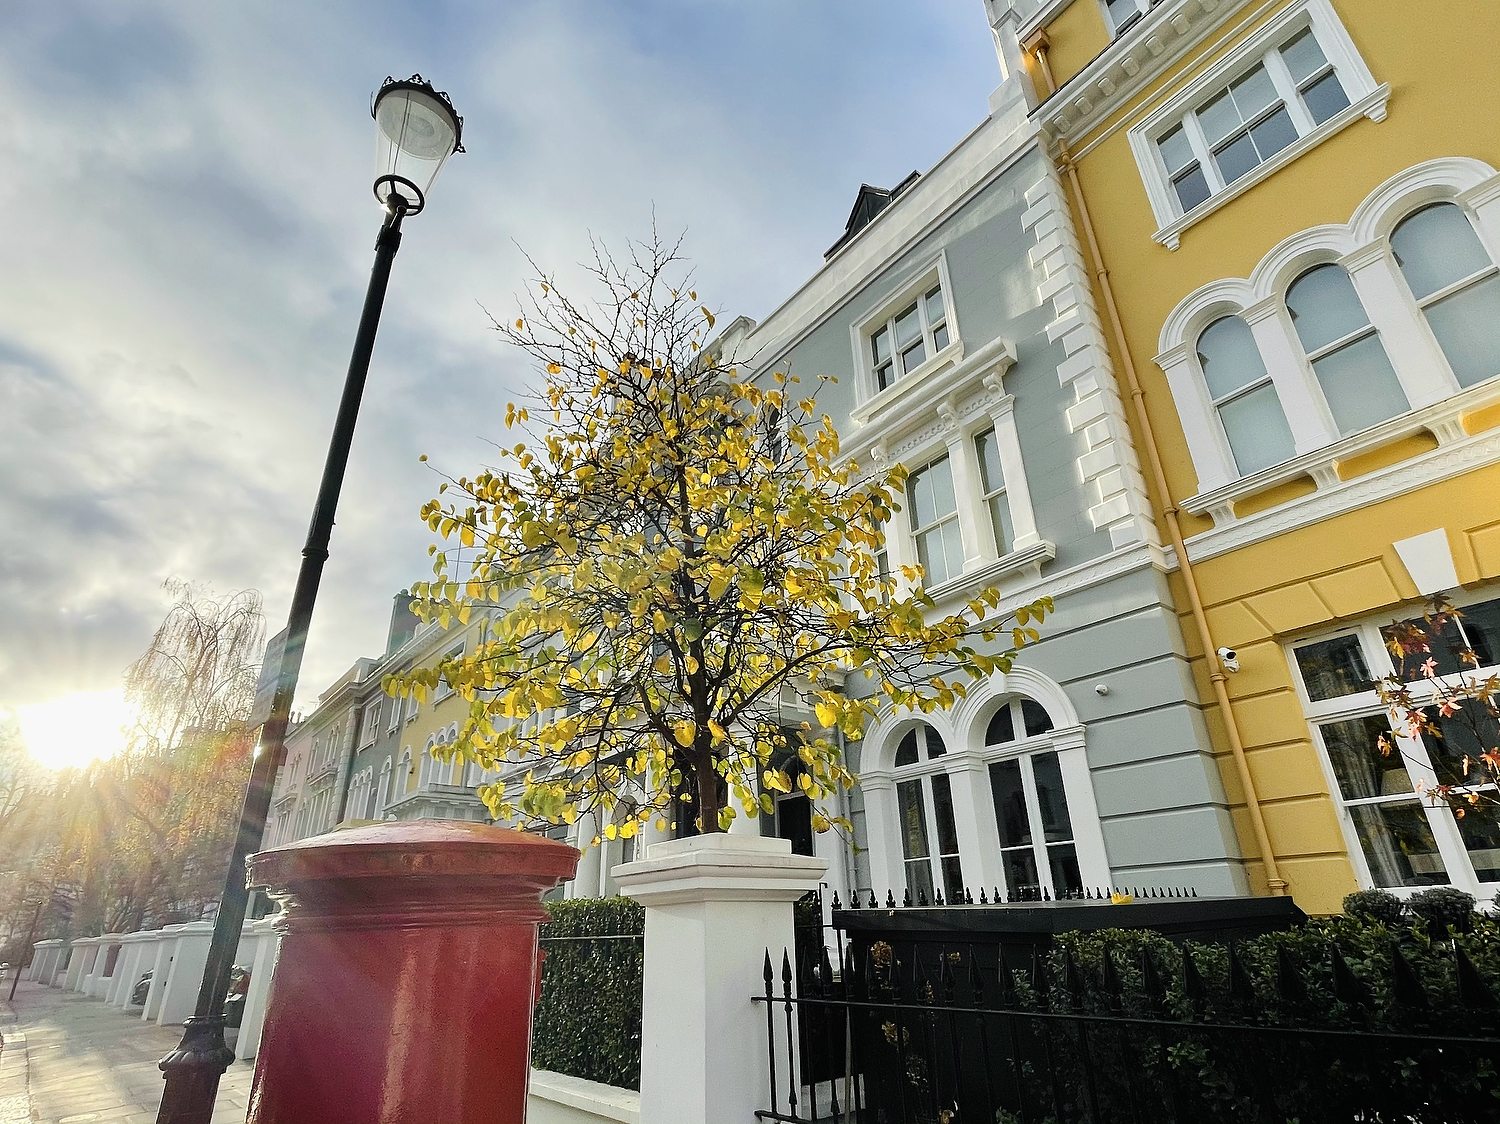
If you have a fairly recent iPhone (with two or three lenses on the back of your phone rather than one), you’ll have a wide-angle lens! On my iPhone 12 Mini – open up the camera app, click on the little circle that says ‘1x’ in it, and it will switch to 0.5x and give you a much wider angle (bigger scene) to work with. This is mostly useful for landscapes but you can get some awesome iPhone photos of your kids with a wide angle too!
The wide angle is also useful for selfies for dogs who are camera shy and won’t stand still.. ;) Or for selfies with lots of people (remember those?)!
Go take some awesome iPhone photos of your kids, and tag @schryverphoto to let me know how you get on!
Helen xoxo
Facebook Comments

