Contact Me
How long have you been meaning to get round to organising and printing your photos?
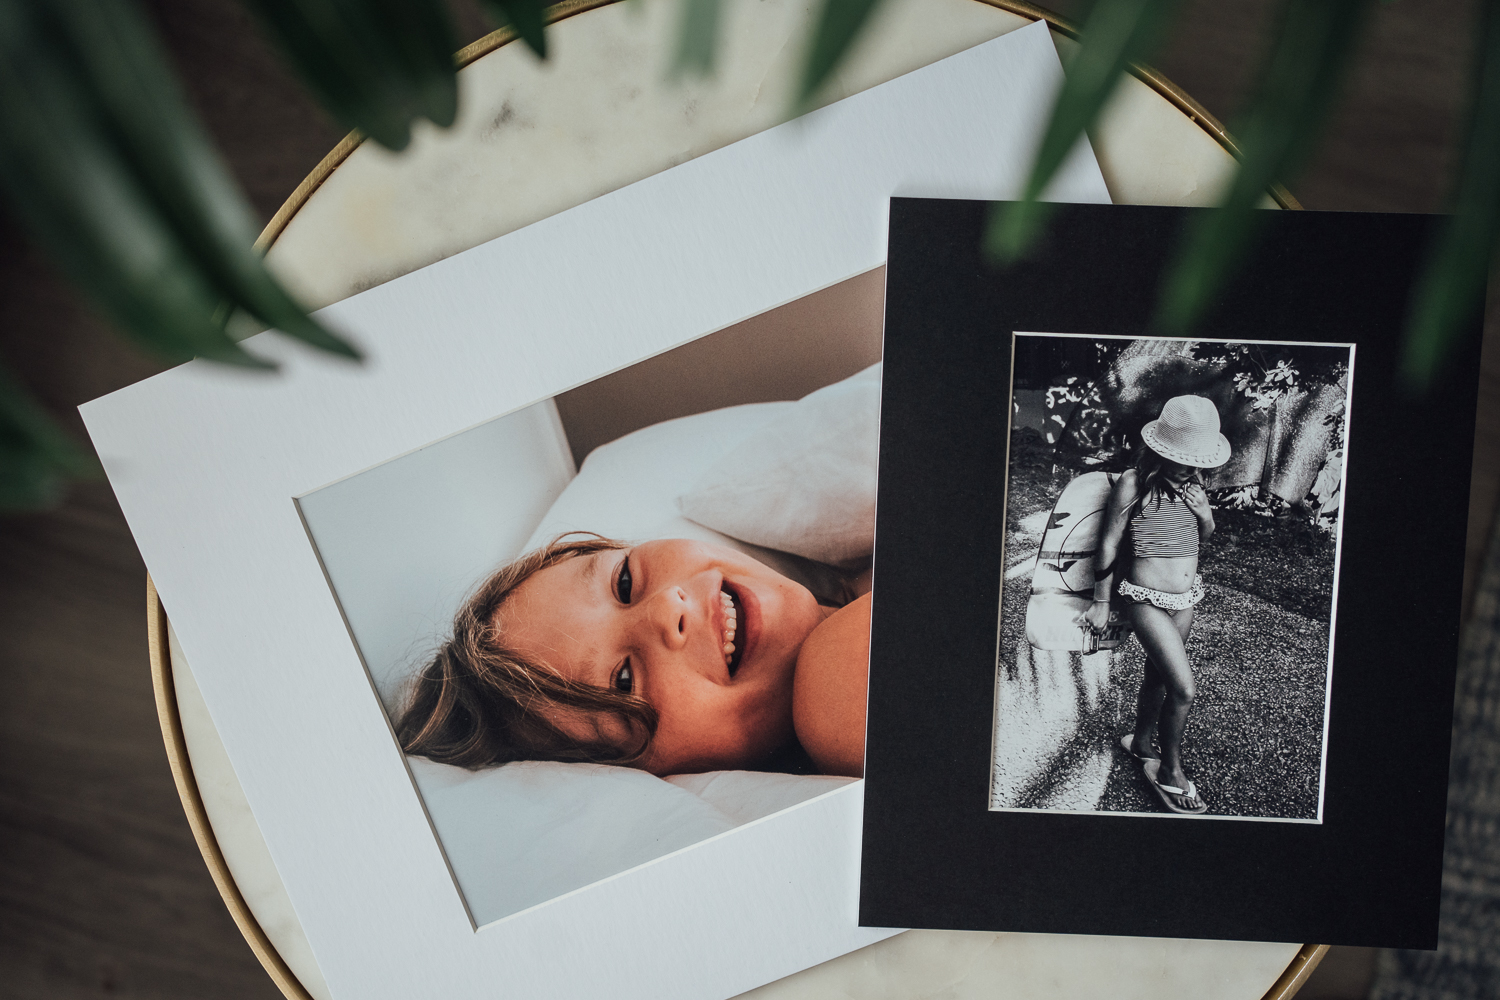
It’s an overwhelming task isn’t it – I feel your pain!
We’re talking about those thousands of photos of your kids/animals/holidays that you quite likely have had sat or your phone or hard drive gathering virtual dust for months, if not years!
We all have them – as a family photographer I deal with organising and printing photos every day, and I need to be disciplined and block out time in my diary each month if my own family photos and phone pics are ever going to see the light of day.
Even if your photos are beautifully organised and backed up (hello fellow photographers!), are you actually printing them? I adore going through old family photo albums from when me and my siblings were small.. there are tons of them!
I want to make sure my own child – and niece and nephews! – have the same experience when they’re older. Viewing their childhood memories through a screen won’t be quite the same, will it?! That’s if they can even get todays USB stick, memory card or hard drive to work with their super duper computer of the future. 🤔 (Actually, my new Macbook doesn’t have a slot for either a memory card or a USB stick, so the answer to that will be a hard NO! 😂).
So, I’ve put together these 6 Easy Steps to Organising and Printing Your Photos! You can dive straight in with these whether you’ve got a huge backlog to go through, or even if you’re totally up to date you’ll find some tips in here to make the process even easier going forward.
Shall we commit to finally getting this done? Do it for your kids and (future) grandkids! Let’s get stuck in 💪
A couple of points to begin with:
- Start with your most recent photos and work your way back
- Commit to organising and printing your photos monthly or every couple of months going forward (put it in your calendar!) if you can!
Step 1: Delete Delete Delete!
Two things here – firstly, in the future try to delete all unnecessary photos straight away. Go with your instinct! You don’t need 5 or 6 photos of the same scene – pick your favourite and ditch the rest. Having lots of photos of the same thing just makes it harder for you to find the gems that you’ll want to print!
With old photos, it may be too big a job to go back and sort through tens of thousands of photos, deleting what you don’t want. It may be quicker and easier to start with Step 2, and we’ll get to deleting later (More on this in Step 4).
Step 2: Organise
Start with the most recent photos in your phone, and create categories (Albums) for your photos in your phone as you sort through them. On an iPhone, go into the Photos app, click Albums and then the ‘+’ symbol in the top left corner to create a new one.
This step is a total drag, I’m not going to lie! But you’ll be organising and printing your photos once every month or two going forward, so this step is never going to take as long as it will this time!
I recommend sorting photos by either year and month, or events (‘Olivia’s 1st Birthday’ or ‘Thailand 2020’ for example). Or my preferred method, which is a combination of both.
I create a Folder for the year (same process on the iPhone as creating an Album) and then create Albums within that Folder for events and months/seasons. So far for this year I have a Folder for 2021 and then Albums inside named ‘Spring 2021 – General’, ‘Easter Egg Hunt’, etc.
The Google Photos and Apple Photos apps have search functions that recognise what is in the picture – e.g. animals, or particular people – and of course the date that the photo was taken, which will help you!
Have a separate folder for things that aren’t proper ‘photos’ but that are useful to keep – like screenshots of recipes/addresses and that kind of thing.
Move onto the photos on your computer, if you have any, and use the same system for organising – a parent Folder for the year and then individual folders inside for events and/or months, depending on how many photos you have.
Step 3: Get A Back-Up System In Place
As a professional photographer, I’ve heard all the horror stories of lost wedding photos and the like, and even had a couple of near misses myself in the early days. The importance of backing up your work as a professional is a steep learning curve that’s for sure! Don’t miss this step in organising and printing your photos.
I recommend having your important photos in three places, one of which should be off-site (to put it bluntly – you could back up to 100 different hard drives but if they’re all in your house and you’re burgled – or your house burns down – they’re gone).
On your phone, have your iCloud (or equivalent) switched on to back up your photos. If you’re going to be printing your favourites, that’s your three places. One physical copy, one digital (your phone) and one cloud (iCloud or equivalent).
Do the same on your computer – I recommend backing up regularly to both a separate hard drive or USB stick if you can, plus cloud storage that should be automatic if at all possible, just to make it easy!
There are tons of options – Google Drive, DropBox, iCloud of course, and Amazon photos gives you a huge amount of free cloud storage if you have Prime.
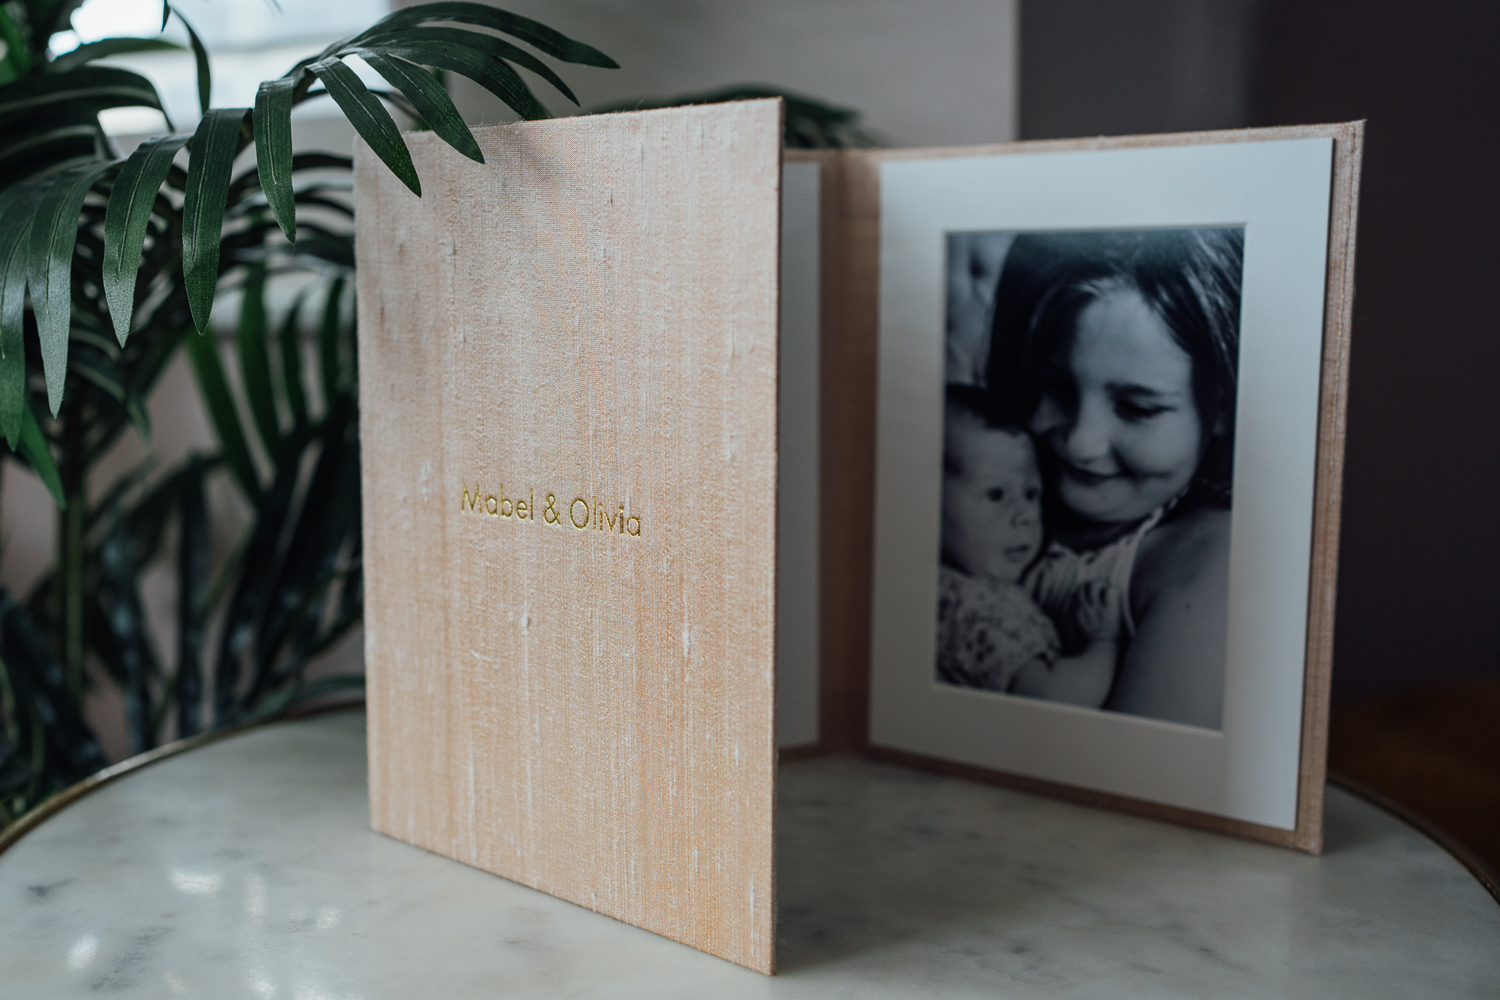
Step 4: Sort
Now it’s time to go through each folder and pick the images you’d like to print and/or keep. If you’re organising and printing your photos from several years back, try to be ruthless.. you’ll thank me later!
We’re going to have 3 categories – Star, Print & Keep.
Star images are the ones you absolutely love and/or are especially important to you. These will be the ones you’ll think about printing large for the wall, printing and giving as gifts to family, and the ones you’ll definitely want to include in an album or photo book.
Print images are the ones you definitely want to print so that you have a physical copy of them somewhere, but won’t necessarily want to display. You would be happy with having these either in an album or just safely in a print box with lots of other photos, to be looked at now and again.
Include some nostalgic or storytelling images in your Print/Star categories – e.g. a photo of your child’s favourite teddy bear, or of your kitchen before it was renovated. These are photos that might not seem special now but will grow in importance and value to you and your kids in the years to come.
On iPhone you can click the heart icon to mark your favourites, or select your chosen images and then create a new Album/Folder for these. Select your favourites on your computer and make separate folders for Star and Print images there too. Keep these new folders within the right year/event parent folder so you don’t get mixed up later!
The Keep images are the ones that you want to keep on your phone/computer and have backed up, but don’t want to print. It’s fairly likely you might not ever look at these again! But if it’s an image you don’t want to either print or delete, it goes here.
As a general rule, when you’re organising and printing your photos you probably could just delete anything that’s not important or loved enough to be printed, but you can always go back and delete your ‘Keep’ folders at a later date.
If you have images that don’t fit into any of the three categories (or if you skipped Step 1), it’s time to delete everything that’s left over! 😬
Step 5: Edit (if you want to)
If you enjoy editing your photos or adding filters then go ahead and do so only on the photos that are Star images. Do the Print ones as well if there aren’t a huge amount.
(Remember that going forward you’re going to be organising and printing your photos once a month and this step will be super easy, quick and enjoyable!)
I like Snapseed and VSCO apps for editing phone pics.
Step 6: Print!
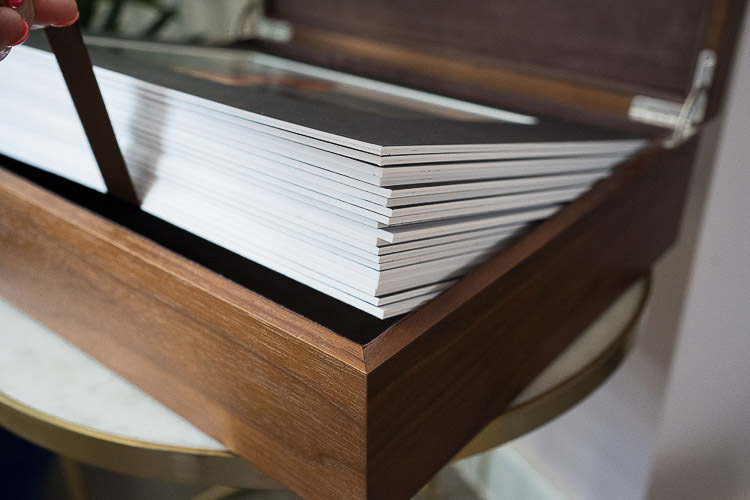
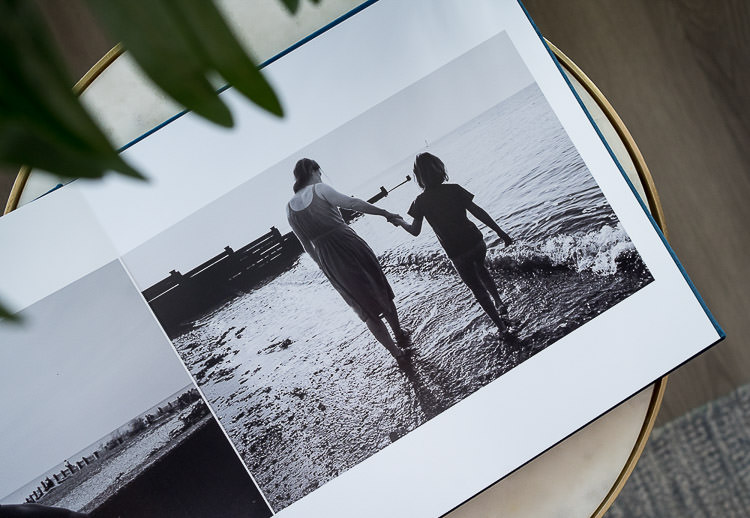
The most exciting step of organising and printing your photos! Decide how you’d like to print your Star images. Maybe they go in a photo book – you could create one for each year.
There might be some that you want to print individually to frame on the mantlepiece or hang on the wall. My absolute favourite Star images get printed really big, and no I don’t really have any wall space left! 😂
The images in your Print category can either go along with the Star images in a photo book, depending on how many you have, or be printed as small 6×4″s and put in a box or stuck in a regular photo album.
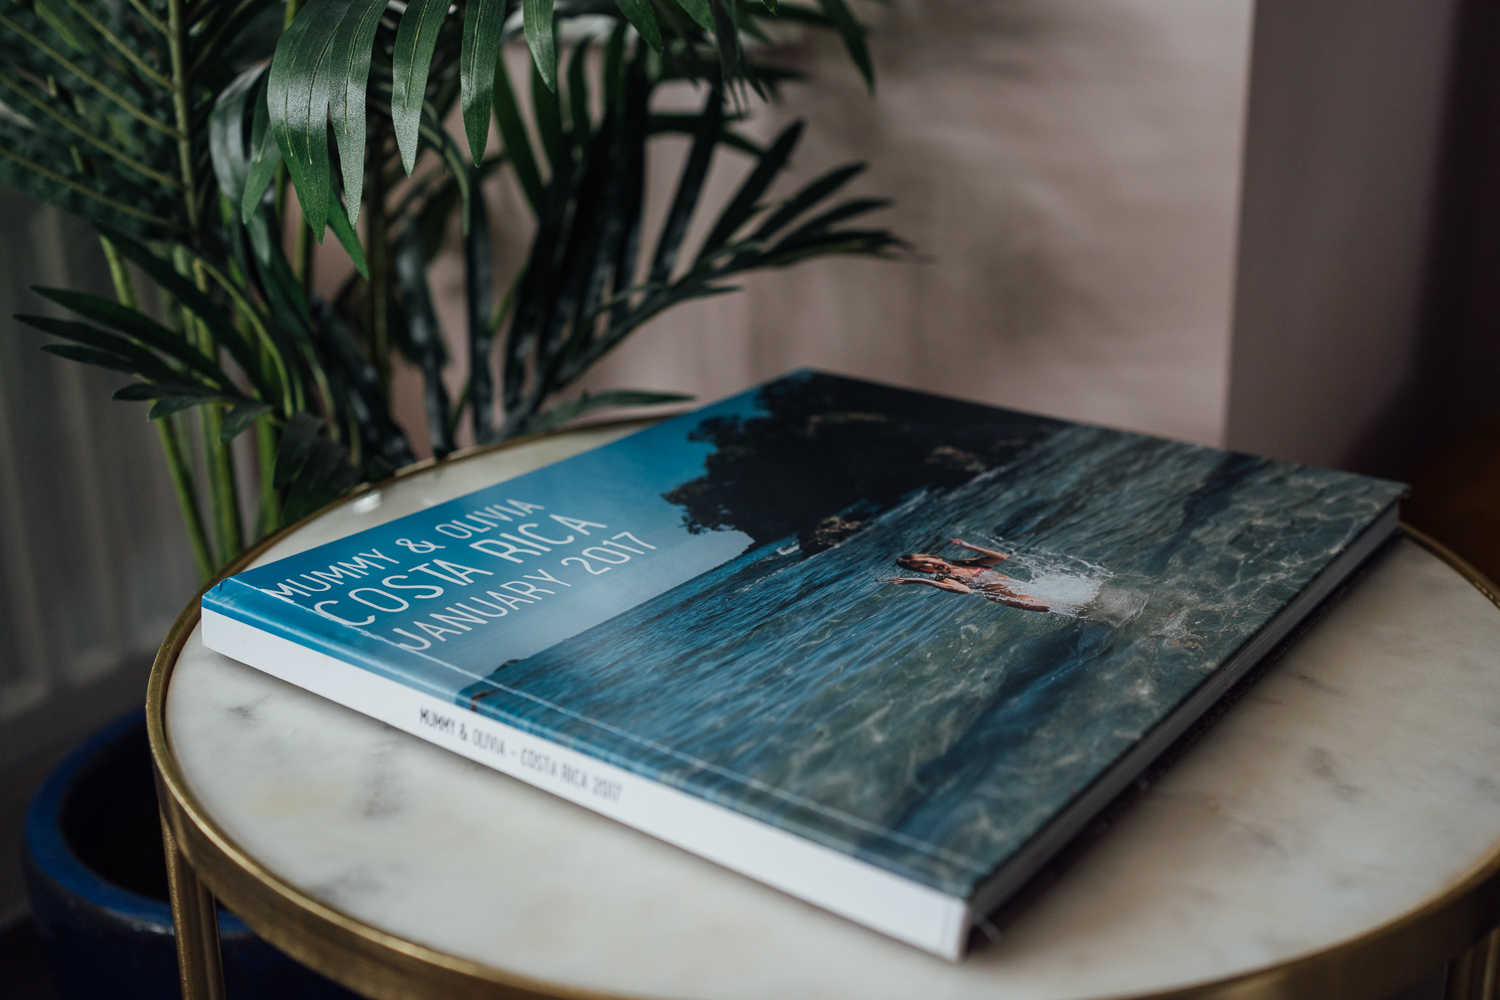
I personally go for Photo Books for each year with my Star and some of the Print images (and usually a separate Photo Book for each holiday), and then I print my Star and Print phone photos as 6×4″s and put them in a box, again one for each year.

I use the same professional-only labs for my own prints, books and Wall Art as I do for my lovely family photography clients. It’s one of the perks of the job! 😉 But here are some suggestions for consumer options to try that are decent quality:
- Photo Books – I like Blurb and still get books from there as gifts or when I don’t want to splash out on a super duper Fine Art Album for my photos. I have also heard ChatBooks are great for making books straight from your phone.
- Prints – It’s a really mixed bag out there, but generally I’d recommend ordering online or from a high street lab over using one of those little ‘print it yourself’ machines you see in the supermarket. If the quality is important to you, order a couple of test prints from a few different labs and find one you like. They can vary hugely! For storing your prints, little boxes like these from Amazon are ideal. I would then put several of these type of boxes inside a larger sturdy plastic storage box for extra protection if they’re going up into the attic.
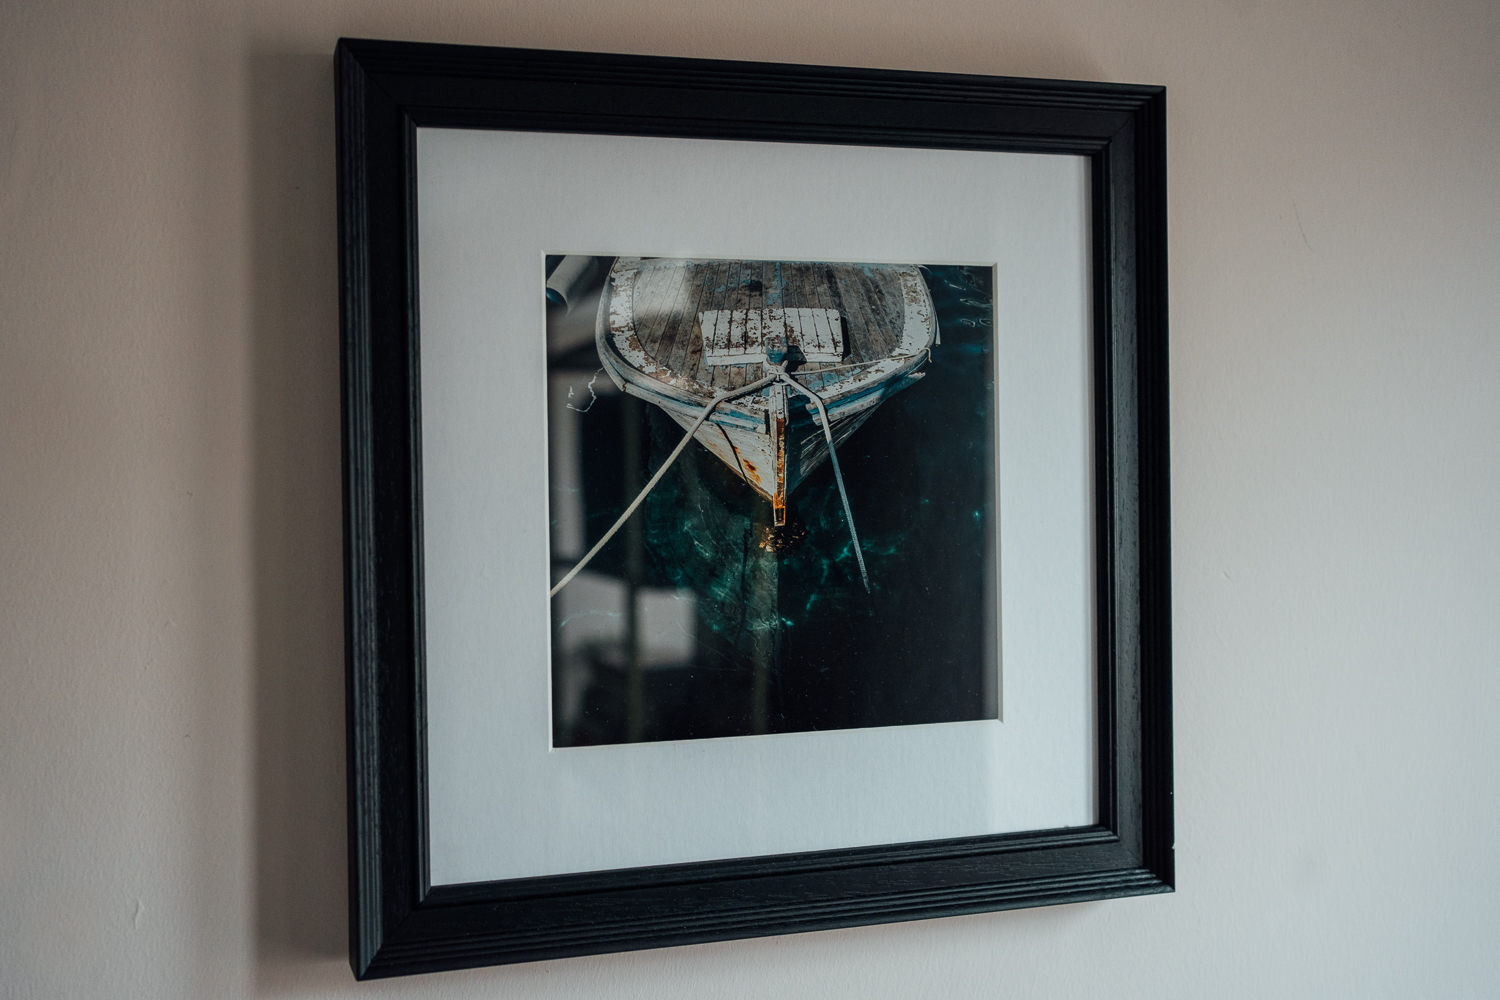
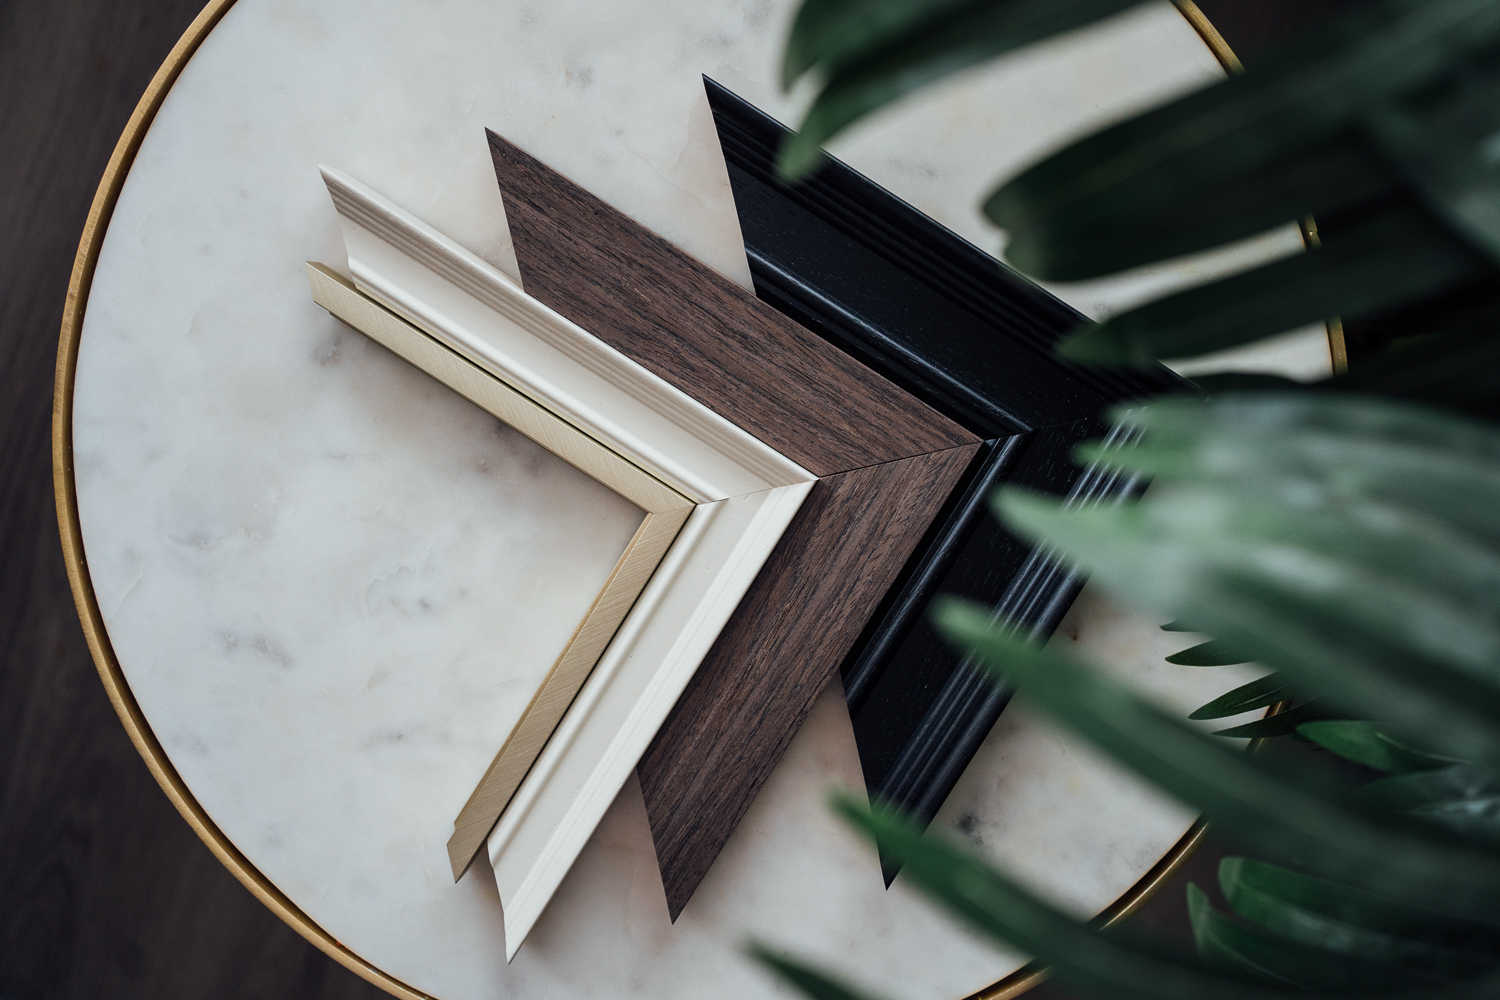
- Wall Art – For framed photos, I recommend you visit a local framer. They have literally hundreds of frame styles to choose from. They should also be able to advise you as to where locally you can get your photo printed in good quality and in the required size ready for framing. There are lots of companies online offering terrible quality canvas and acrylic printing 🙈 Go for at least a well-known photo lab name such as Photobox (they do books too) for better results.
And there we have it. Please, please let me know how you get on with organising and printing your photos 💪. I would love to see how you choose to print and display them, and be sure to tell me how great it feels to have finally got round to doing it! 😉
And of course, if you have any questions on anything at all, just give me a shout. That’s what I’m here for, and I am passionate about printing family memories! 🙌📸
If you’re reading this as a client of mine looking to get your professional family photos printed, then of course I recommend you come to me to explore all your options! 😉


